🖤 Looking for a relaxing winter project? This free snowflake embroidery pattern is the perfect cozy hobby to enjoy during the colder months. Whether you’re curled up with a warm drink or looking for a little winter self care, this easy embroidery pattern is a great way to unwind. Using just a few basic stitches, you’ll create a delicate and simple snowflake that’s perfect for beginners.
It’s early December, and I can’t wait for the first snowfall! To get into the winter spirit, I stitched up a handful of snowflake embroidery patterns (plus a little tree) last week to keep me company until the real snowflakes start to fall. Whether you love winter or just appreciate its cozy moments, there’s something magical about stitching snowflakes—each one unique, just like in nature.
I saved one of my designs just for today so you can stitch along with me. This pattern is simple, beginner-friendly, and the perfect way to ease into embroidery if you’re new to it. If you’ve never picked up a needle before, don’t worry—I’ll guide you through each step in this embroidery tutorial, so you can follow along with confidence.
So grab your hoop, thread, and a comfy blanket, and let’s create something beautiful together. This snowflake embroidery pattern is not only a fun seasonal craft but also a wonderful way to slow down, de-stress, and embrace the simple joys of the season.
Table of Contents
Snowflake Embroidery Pattern Stitch List
There are only three stitches you’ll need for this pattern:
If you need detailed instructions on how to create those stitches I’ve included clickable links to take you to the right place. The links will open up a new window so you won’t have to leave this page.
Here’s What You’ll Need
-
4” hoop
-
6 x 6 inch fabric
-
embroidery needle
-
DMC embroidery threads: #964, #820, white or #S712
-
scissors
You can use this pattern for your personal use to decorate your home, tree, or to gift to friends… they make cute stocking stuffers (and it won’t take you long to make it)!
Access the pattern here.
Steps
Step 1
Transfer and hoop your fabric.
Use 4 strands of dmc #964 to outline the outer pointy extensions of the snowflake with the back stitch. Leave the center unstitched.
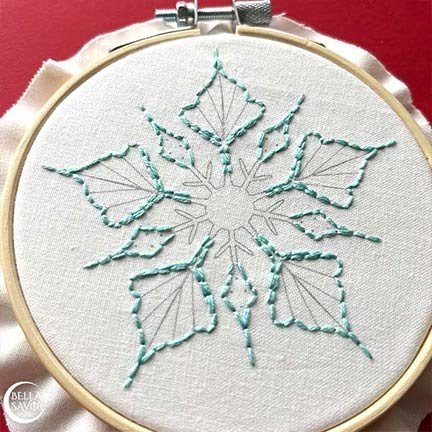
Also a back stitch to the line that sits just above the bottom of the fan shape.

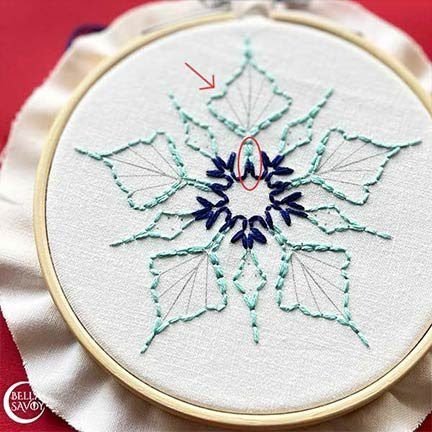
Step 2
Back stitch the center of your snowflake using 4 strands of dmc #820. Add a little seed stitch where you see the little red circle below. Oops, ignore that red arrow… it’s just pointing to the back stitch from step one.
Step 3
In the wide tips, use a 2 strand back stitch to add some lines. Use either white or S712, a satiny silvery-white. I used S712 to give my snowflake a touch of shimmer. It’s really quite pretty but I wasn’t able to capture that in my photo. It’s much more noticeable in person.
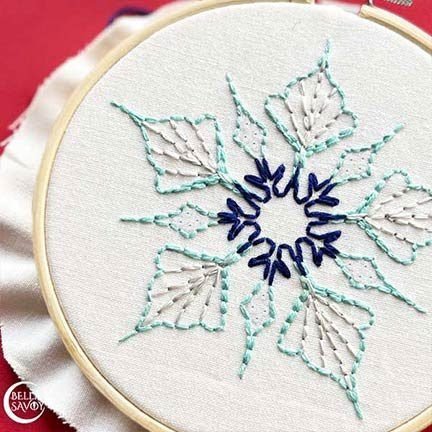
Step 4
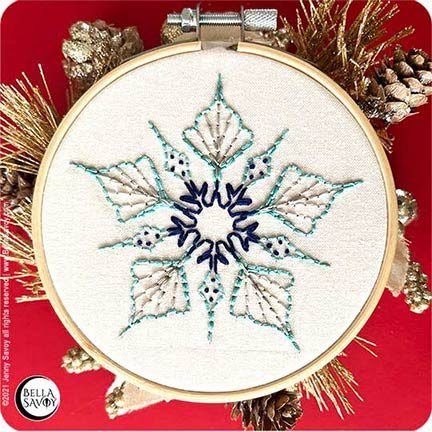
Finish the pattern using 2 strands of dmc #820 to create french knots inside the narrower tips.
Step 5
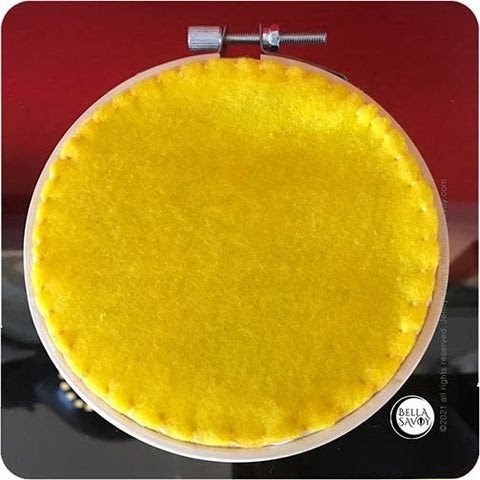
Pull the fabric together using the running stitch on the back, then add a felt backing using the blanket stitch along the edge to pull everything together. This step is optional but it really does give your embroidery piece a much more polished feel, and it’s a nice detail that I highly recommend.
Now that you’ve finished stitching this snowflake embroidery pattern, take a moment to admire your work. Whether you frame it, add it to a cozy winter project, or gift it to someone special, this little snowflake is a reminder to slow down and enjoy the season. Winter self care can be as simple as embracing a cozy hobby like embroidery—so grab another pattern, make a warm drink, and keep stitching!