🖤 Welcome to this seed stitch tutorial, where we’ll be exploring a simple yet incredibly versatile stitch that’s perfect for beginners! Also known as the rice stitch or straight stitch, this technique involves creating small, individual stitches that can be used to form textured accents, fill in shapes, or even create delicate patterns.
One of the things that makes this stitch so appealing is how customizable it is. You can stitch them in any direction, space them apart, or vary their lengths to achieve the look you want. It’s one of the best easy embroidery stitches for beginners because there are no rigid rules—just your creativity! Whether you’re working on a random scatter of stitches or a more organized arrangement, this stitch allows you to add depth and interest to your design.
These little stitches are also great for open-fills, where you allow the fabric to show through between the stitches. This technique, sometimes referred to as the powdering effect, adds a beautiful texture to your piece. As you go through my embroidery stitch tutorials, you’ll notice that this stitch often serves as a foundation for many designs because of its versatility and simplicity.
Once you get the hang of it, you’ll see just how much you can do with this technique. So, grab your needle and thread, and let’s dive into creating your beautiful design!
How to Use the Seed Stitch
While the seed stitch can absolutely stand alone, there’s also plenty of room to get creative with it. Whether you use it as a base for your design or incorporate it with other techniques, this simple stitch offers endless possibilities. As one of the easiest embroidery stitches for beginners, it’s a great way to add texture, depth, and detail to your work without much effort.
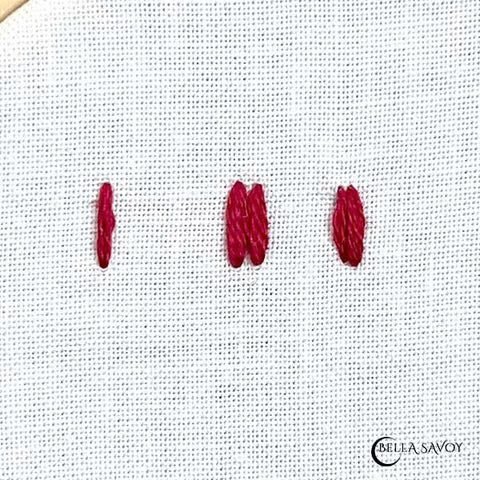
You can group the stitches in an orderly fashion for a neat, clean look or opt for a more organic arrangement, letting the stitches fall naturally. For a bolder effect, place two stitches next to each other. These can be in the same color or different colors, depending on your design. By varying the spacing and direction, you can create beautiful patterns that are unique to your project. This flexibility makes the seed stitch an essential basic embroidery stitch that works beautifully in all kinds of designs.
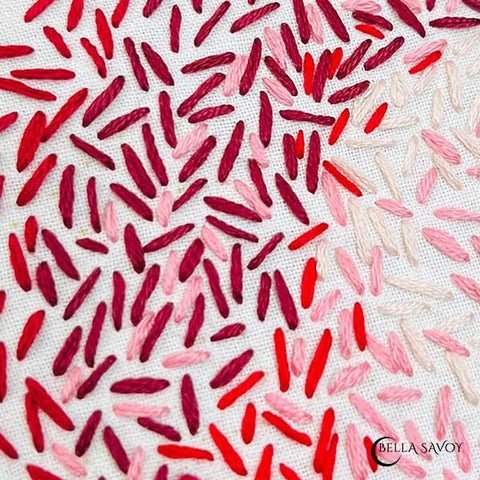
One of the best uses for this technique is creating an open fill with an ombré effect. By grouping the stitches together and adjusting the density, you can fill in a shape with a gradual color transition. Experimenting with different thread weights or strand numbers can also give a more textured effect, adding depth to your design. If you want to mix it up, try incorporating straight stitches alongside your seed stitches to create more dynamic patterns.
Another way to use this versatile stitch is underneath closed-fill stitches (where the fabric is fully covered). Placing seed stitches below these fills can add volume and dimension, giving your piece a beautiful layered effect. You can also combine it with other embroidery stitches for beginners, such as the straight stitch, to create stunning contrast and variety in your work.
Beyond texture and fills, the seed stitch is fantastic for smaller details. You can use it to create flower parts, scattered accents like sparkles or freckles, or even tiny details like teeth and whiskers on an embroidered animal. The simple movement of this stitch makes it an easy embroidery stitch to master while providing endless creative opportunities.
Although small, the seed stitch is one of the most versatile stitches you’ll come across. Its ability to add texture, fill space, and enhance other stitches makes it an essential technique in your embroidery tool kit. This quick tutorial is just the beginning—if you’d like to dive deeper into more techniques, be sure to check out my stitch library for additional lessons!
❤️ Happy stitching!