🖤 This French knot tutorial will teach you how to create one of the most charming and versatile stitches in embroidery. As part of any basic embroidery stitch tutorial, the French knot is a must-learn technique that adds texture, detail, and a touch of elegance to your work. If you’re just getting started with embroidery for beginners, mastering this stitch will open up endless creative possibilities.
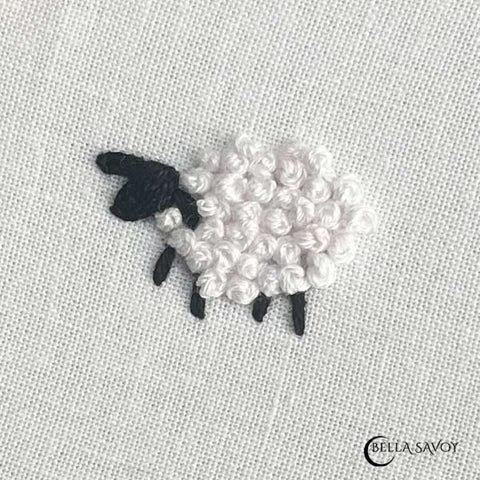
I’m a big fan of the French knot, and once you get into the rhythm of making them, you might find it surprisingly relaxing—almost like a meditative practice. Whether used as delicate accents or densely packed to create a textured fill, they’re perfect for floral designs, decorative elements, hair, wool, and anything else you can dream up.
There is a bit of hand coordination involved, as your left and right hands need to work together to ensure each knot turns out beautifully. But don’t worry—it won’t take long to get the hang of it! With a little practice, tying perfect French knots will feel like second nature.
To create this lovely embroidery stitch, you’ll wrap the thread around your needle, with the number of wraps determining the knot’s size. The amount of tension you apply also plays a role in how tight or loose the knot appears. These small details can make a big difference in the final look of your embroidery, so they’re worth keeping in mind as you practice.
Step-by-Step French Knot Tutorial
For this basic embroidery tutorial I’m using 6 strands of thread in red.
-
Bring your thread through to the top of your fabric.
-
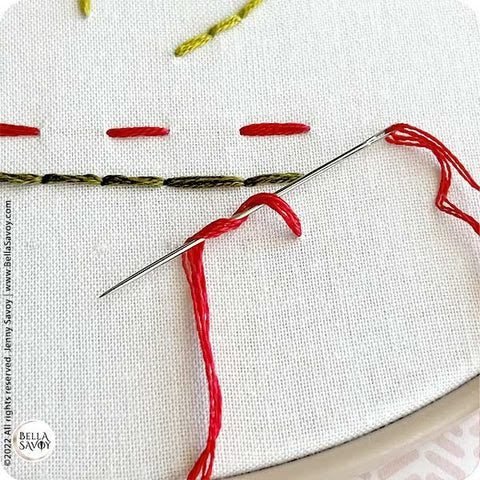
Next, hold your needle in front of you and wrap your thread over and around your needle twice.
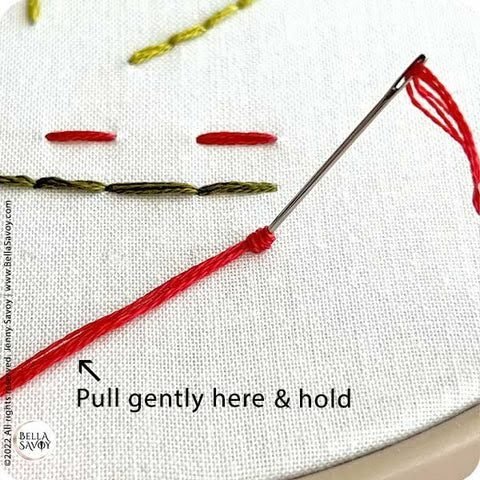
Carefully push your needle halfway through the same hole you came up from (or as close as possible) and gently pull your thread until the wraps hug your needle.
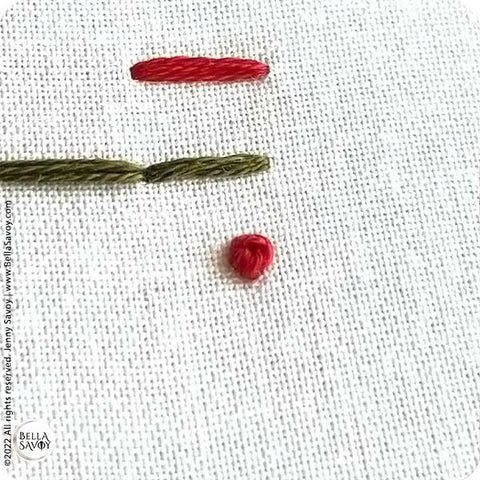
Hold your thread down gently against your fabric and carefully pull your thread through to the back until if forms a knot. Practice varying up the number of threads and wraps to get a sense of how it will affect the size of your french knot.
That’s all there is to it.
Tips
Mastering the French knot takes a little patience, but once you get the hang of it, it becomes a fun and meditative stitch to add to your embroidery projects. Whether you’re using them for tiny floral buds, textured details, or decorative accents, getting the right look comes down to technique and practice. A few small adjustments—like how tightly you pull the thread or how many times you wrap it—can make a big difference. Below are some helpful tips to ensure your French knots come out just the way you want them!
-
The tighter you pull your thread through to make your knots, the smaller and more compact they will be compared to a knot pulled gently with the same number of wraps. A looser pull will create a slightly larger, softer-looking knot, so experiment with tension to get the effect you want.
-
If you’re making a series of French knots spaced apart, be mindful that your thread can sometimes show through the front of your fabric, especially if you’re using a thinner material or lighter-colored fabric. To prevent this, consider weaving your thread under existing stitches on the back to keep it secure and hidden.
-
One more thing—if you decide to stitch using metallic threads, be prepared for a tiny bit of a challenge. Metallic threads can be slippery and prone to fraying, making them trickier to control. Definitely practice using regular embroidery floss first to get comfortable with the motion. When you’re ready to try metallics, take it slow, and use shorter thread lengths.
I hope the tips come in handy!
Don’t forget to take a peek at other stitch tutorials! If you’re a beginner you may want to start with the 5 basic embroidery stitches post.