🖤 The woven wheel stitch is a perfect way to add texture and volume to your embroidery projects. It’s simple to learn and a fantastic choice for beginners looking to create beautiful, colorful flowers. This stitch involves weaving thread around a central point to form a circular shape, creating a “plump” effect that’s ideal for flower embroidery.
Adding this stitch to your embroidery collection is a great way to bring some life and depth to your designs. Cozy hobbies like embroidery encourage creativity, and the woven wheel stitch can take your projects to the next level. Whether you’re working on floral patterns or just looking to add more texture, this stitch will give your creations that extra pop. Ready to give it a try? Keep reading for a detailed woven wheel stitch tutorial to get you started!
Table of Contents
Tips for the Woven Wheel
I’ll start with a couple of quick tips.
- Use at least 6 strands for the woven wheel. If you use less it won’t be as plump and it will take you twice as long to finish your stitch.
- There’s a lot of weaving and very little moving in and out of your fabric so it’s okay to use a bit longer thread than you normally use for other stitches. Still, keep the length manageable so you don’t end up with a tangled mess.
Step One: Make a “pie”
- Draw a circle template and divide it into 5 pieces like a pie.
- “Cut up your pie” with straight stitches which should go from the center to the circle. A straight stitch is essentially a line that goes from A to B.

Step Two: Weaving
- Bring your needle up near the center. It doesn’t matter which section you start in.
- Then just start weaving over and under each of those 5.
- Continue weaving around and around until you’ve completely covered your template. Use the blunt end of your needle to weave if your needle catches on the thread.

If you see that you’re running out of thread:
- End your stitch after you’ve gone over a line, then push your needle to the back just before the next line.
- Come up on the other side of that line with your new thread and continue weaving.

Step Three: Finish
- When you reach the outer edge make sure you’ve covered the tips of the 5 stitches that are holding your weave in place.
- You can add a few stitches around the woven to cover them if you’d like.
- Finish off your woven wheel stitch by pushing your needle to the back and fluff them up a bit with your needle.
Adding Leaves
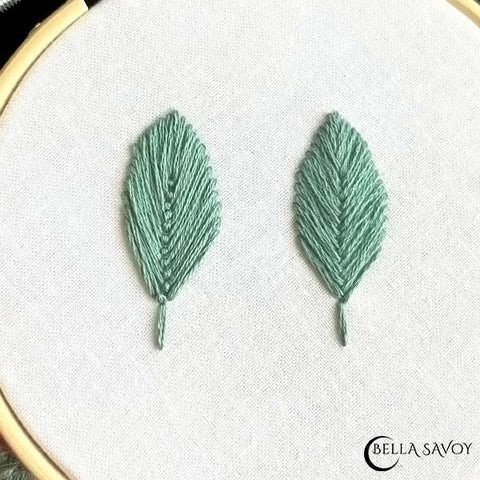
If you’re using the woven wheel to create a flower and want to add some leaves, use a stitch such as the satin stitch. Super simple and super cute!

More Woven Wheel Tips
- Take your time—this is something I always recommend for embroidery stitches because it really does make a difference. Rushing through can result in uneven stitches, but giving yourself the time to focus helps create beautiful, consistent results.
- When weaving the thread, be mindful not to pull it too tightly, as it can cause the stitch to lose its shape. On the flip side, it shouldn’t be too loose either. A little trick I like is to gently place my finger on top of the stitch as I pull the thread around, which helps me maintain the right tension. You’ll see me demonstrate this technique in the video tutorial.
- As you work, feel free to use your fingers to nudge the thread into place, ensuring the stitches are even and sitting just right.
- And don’t be afraid to experiment with colors! You can create a stunning effect by using one color for the center of the stitch and another to finish it off. This adds dimension and gives your flower or design even more personality.