

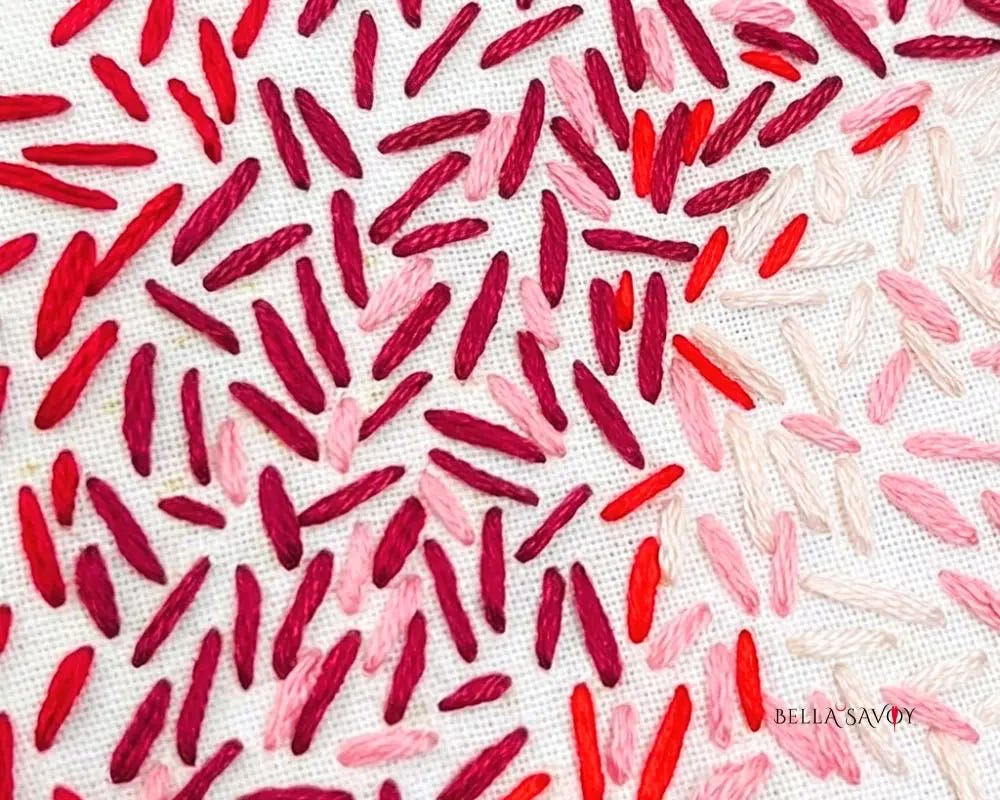
I’m introducing you to the seed stich — a simple yet incredibly versatile stitch that’s perfect for beginners! Also known as the rice stitch or straight stitch, this technique uses small, individual stitches to create textured accents, fill shapes, or form delicate patterns.
What makes the seed stitch so appealing is how customizable it is. Stitch in any direction, vary the spacing, or change the length — there are no rigid rules, just your creativity. It’s also perfect for open fills, where the fabric shows through between stitches for a beautiful powdering effect. Once you get the hang of it, you’ll find endless ways to use it. Let’s dive in!
Disclosure: As an Amazon Associate, I earn from qualifying purchases at no extra cost to you.
Click here for a FREE EMBROIDERY PATTERN
How to Use the Seed Stitch
The seed stitch is incredibly versatile — it works on its own or alongside other techniques. You can arrange stitches in a tidy, orderly pattern for a clean look, or scatter them organically for a more relaxed feel. For a bolder effect, place two stitches side by side in the same or contrasting colors.
One of the best ways to use this stitch is for an open fill with an ombré effect. By adjusting the density and grouping of stitches, you can create a smooth color transition across a shape. Varying thread weight or strand count adds even more texture and depth.
Seed stitches also work beautifully underneath closed fills — layering them below a fully covered area adds volume and dimension to the finished surface. And for fine details, they’re perfect for flower centers, scattered sparkles, freckles, or tiny features like whiskers on an embroidered animal.
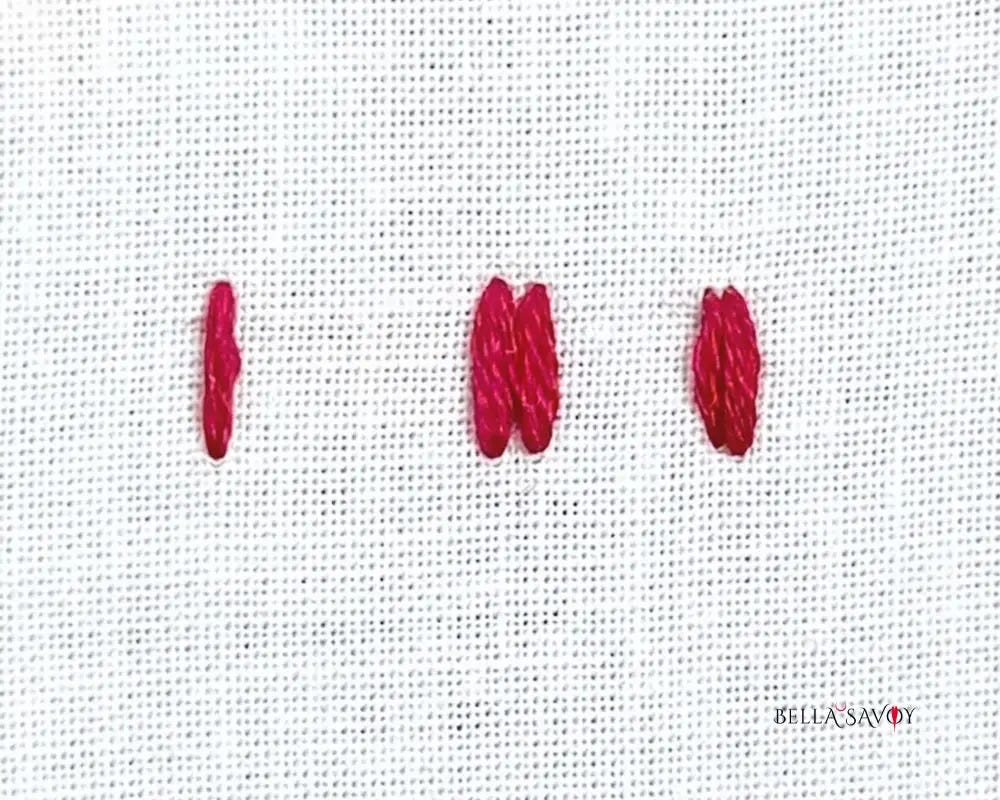
The Seed Stitch as a Foundation for Other Stitches
One thing beginners are often surprised to learn is that the seed stitch isn’t just a standalone technique — it’s actually the starting point for many other embroidery stitches. Understanding it well gives you a head start on a surprising number of more advanced methods.
The woven picot stitch, for example, begins with a single straight stitch anchored into the fabric, which is then woven through to create a raised petal or leaf shape. The pistil stitch starts with a straight stitch before the knot is formed at the tip. Even the star stitch is simply multiple seed stitches radiating out from a central point. Once you see the seed stitch hiding inside other stitches, you start to realize how foundational it really is.
Layered and padded techniques rely on it too. Padding — the method of building up layers beneath satin stitch or other fills to create a raised, dimensional look — often uses rows of small straight stitches as the base. Those padding stitches are seed stitches in everything but name. Getting comfortable with the motion now makes those techniques feel much more approachable when you’re ready for them.
Tips for Stitching It Well
The seed stitch may be simple, but a few small habits will make your results look more polished right from the start.
Keep your stitches consistent in length. You don’t need a ruler, but try to develop a feel for your preferred size — whether that’s short and subtle or a little longer for more presence. Inconsistent lengths can make a scattered fill look messy rather than intentional.
Vary the angle deliberately. One of the charms of this stitch is that the angles can be random, but “random” works best when it’s truly varied. If all your stitches accidentally lean the same direction, the texture loses some of its energy. Consciously rotate the angle as you work.
Don’t pull too tight. Seed stitches sit on the surface of the fabric, and pulling the thread too snug can pucker the weave or make the stitch sink in and lose its definition. A relaxed tension keeps each stitch crisp and visible.
Use fewer strands for a delicate effect. One or two strands of floss gives a soft, airy scatter that’s lovely for backgrounds or subtle texture. More strands make each stitch pop — great for focal details or when you want the fill to read clearly from a distance.
A Stitch Worth Mastering
Small but mighty, the seed stitch is one of the most essential techniques to have in your embroidery toolkit. It’s the rare stitch that works beautifully as a beginner exercise and continues to show up in more advanced work — whether you’re padding a satin stitch leaf, scattering freckles across an embroidered face, or building toward a woven or knotted stitch for the first time.
If you want to keep exploring, check out my stitch library for more tutorials. There’s always something new to try!
Happy stitching!