

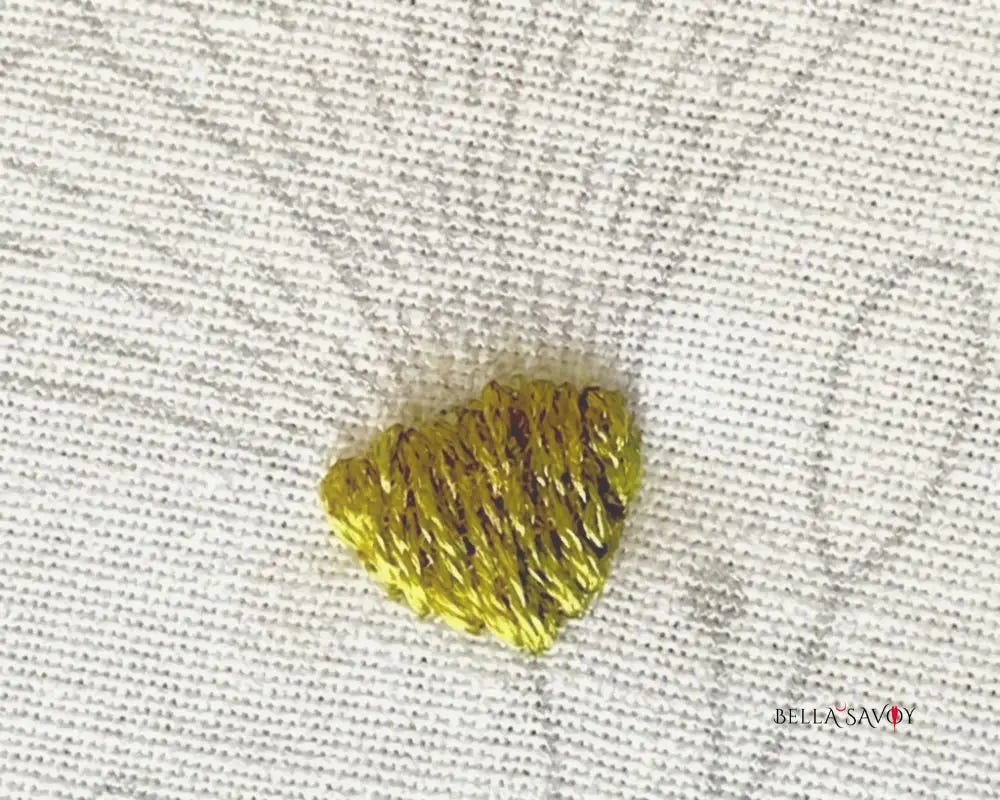
This satin stitch tutorial will teach you how to create one of the most popular and versatile embroidery stitches used for filling in shapes. Whether you’re working on floral designs, lettering, or geometric patterns, this basic embroidery stitch is an essential technique to master.
If you’re looking for a smooth, seamless way to fill a shape with color, the satin stitch is the perfect go-to. This embroidery stitch tutorial is especially great for beginners because the technique is simple — it’s just closely spaced stitches laid side by side to create a solid, polished look. It’s a must-have in your stitching toolkit and one of the most used stitches in embroidery.
You can create satin stitches in any direction—vertically, horizontally, or diagonally—depending on the shape and effect you want to achieve. For added dimension, you can even layer satin stitches over another stitch, like padding stitches, to create a raised effect.
With a little practice, you’ll be able to use this stitch to bring texture and vibrancy to your embroidery projects. This embroidery for beginners guide will walk you through the process step by step!
Disclosure: As an Amazon Associate, I earn from qualifying purchases at no extra cost to you.
Click here for a FREE EMBROIDERY PATTERN
Once the shape is completely filled in, whether you’re creating an open-fill (where bits of fabric still peek through between the stitches) or a closed-fill (where the stitches fully cover the fabric beneath), you’ll notice that the satin stitch forms neat rows that travel from one end of the shape to the other.
The way the stitches are arranged can also affect the overall look—close-knit stitches will create a more solid fill, while slightly spaced ones offer a lighter, more airy effect.
Steps
Start by drawing a simple shape to fill in such as a leaf or cup shape like the receptacle of a flower.
I like to divide my shape and fill one side, and then the other, but you can also start on the left or right side of the shape and work your way across. There’s really no right or wrong.
I want the direction of my stith in this flower receptacle to run vertically. I’ll add a stitch in the middle from one end to the other. This is essentially a simple seed stitch — a handful of stitches start with this cute basic embroidery stitch.
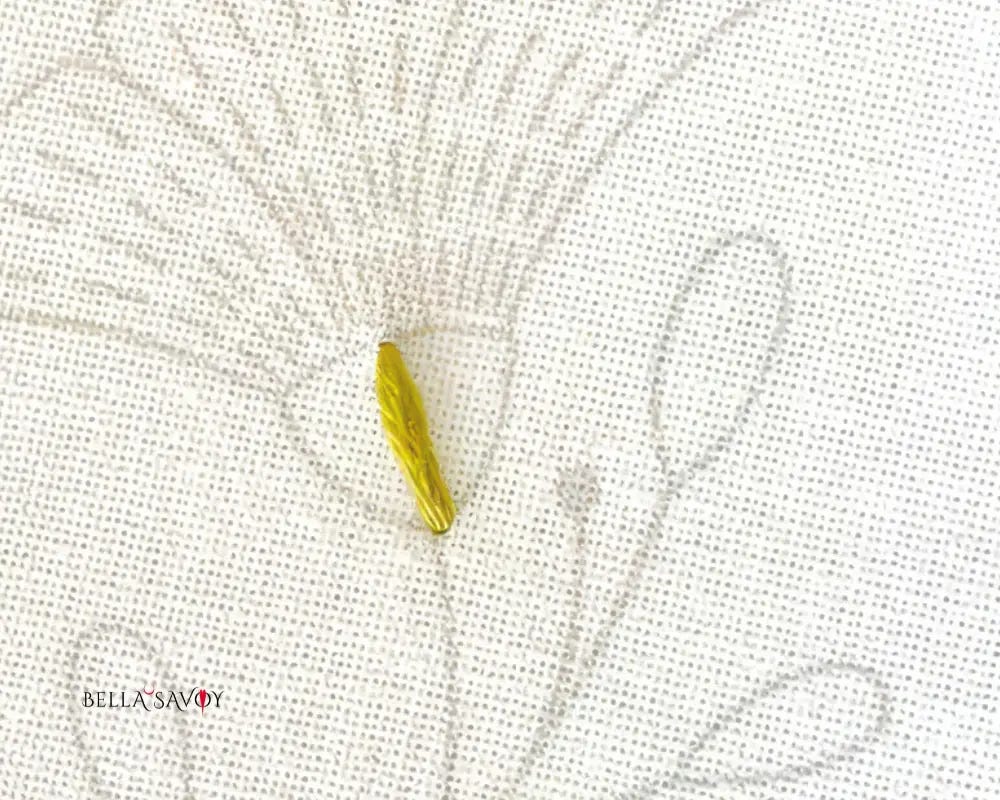
Next I’ll fill in the left half of the receptacle. Simply repeat the previous step and add your stitch directly next to your first one. Keep going with this until the entire half is filled.
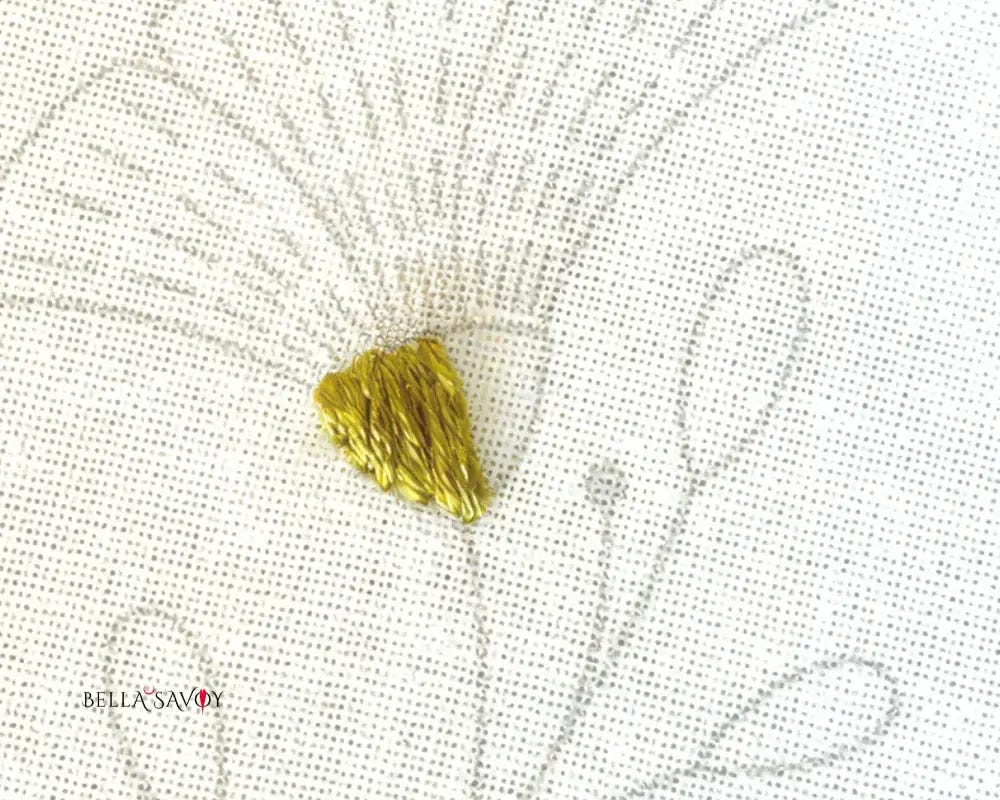
Then fill in the other side using the same steps. When you’re done, you can slide your needle under your satin stitch and gently fluff it out a bit. That’s all there is to it!
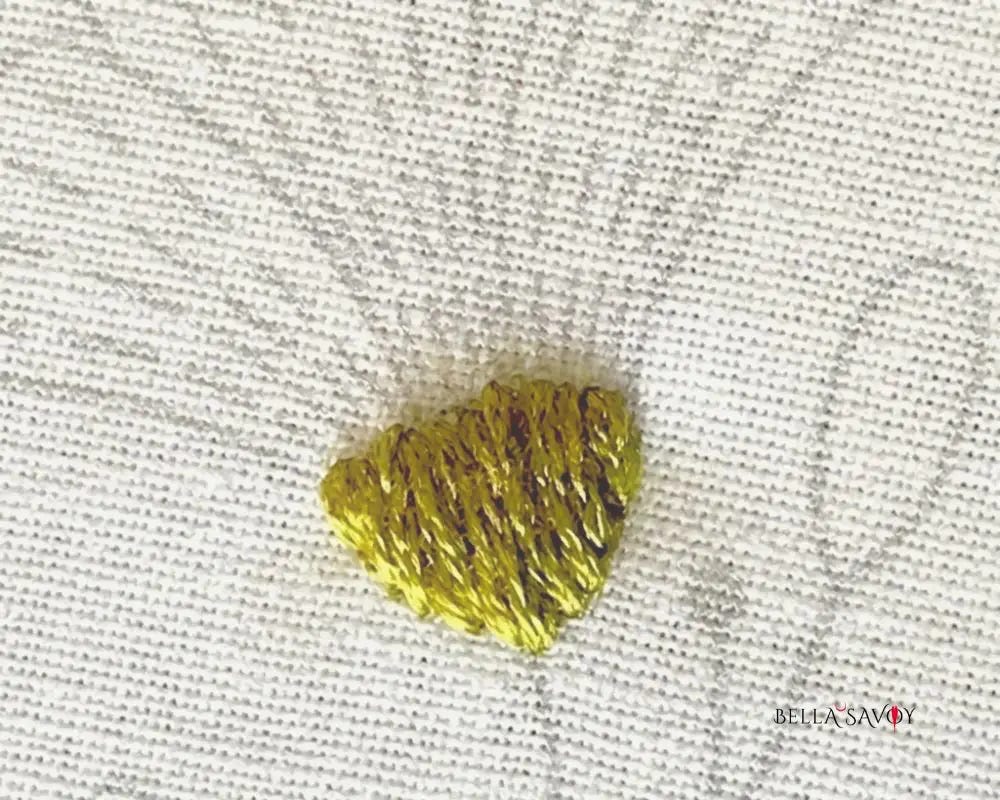
Tips for a Beautiful Satin Stitch
If you’re filling in a large shape starting in center and dividing your shape into a few sections will help you keep the lines nice and parallel to each other as you fill them in.
From time to time, your thread might start twisting. Try to straighten out your thread every so often by dropping your needle. It will unravel itself. Doing this will make your stitch more uniform and clean.
The satin stitch uses a lot of thread so make sure you have plenty before you start.
This tutorial went over a closed fill which covers the fabric below. To create an open fill, spread your stitches out so bits of your fabric show through. The spread can be even between each stitch you add or they can be varied.
Add padding to the satin stitch by adding two layers that lay perpendicular to each other. Or, make the bottom layer using other stitches such as randomly placed seed stitches or outline the shape first with the chain stitch.
Video: Satin Stitch Tutorial
