🖤 Create solid lines and gorgeous fills with the chain stitch! In this chain stitch tutorial, we’ll dive into one of the most essential and easy embroidery stitches, perfect for beginners. The chain stitch is not only simple to learn, but it also adds beautiful volume and texture, making it ideal for bold lines and intricate designs.
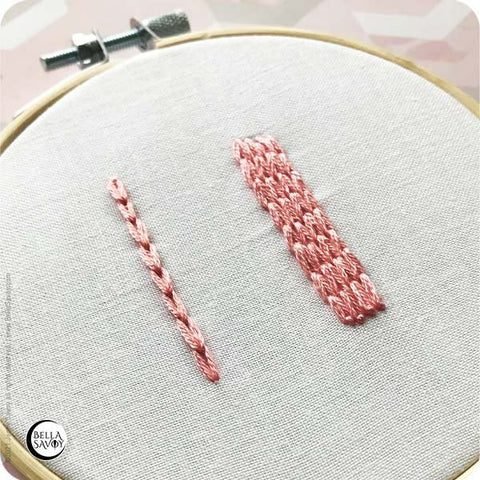
As a basic embroidery stitch, the chain stitch is incredibly versatile. It forms a series of loops connected together, which creates a strong, textured effect that’s perfect for outlining shapes or filling in spaces. It resembles the texture of crochet stitches, and when used as a fill, it adds an elegant and dimensional look.
The chain stitch is a great addition to your embroidery toolkit, as it helps draw attention to certain areas of your design with its boldness—similar to the thick lines you often see in traditional tattoo art. Whether you’re a beginner or an experienced stitcher, mastering this stitch will bring both structure and creativity to your projects.
How to Make the Chain Stitch
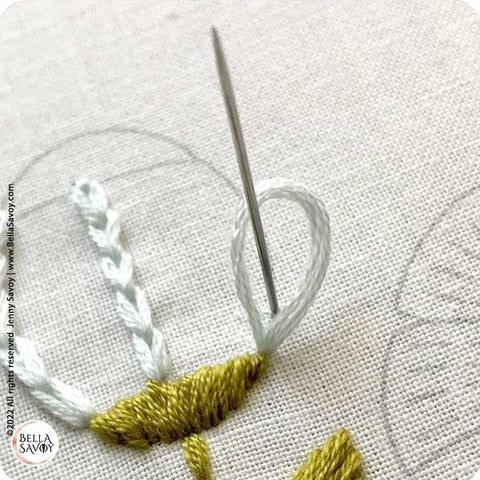
Start by creating a small loop. Come up through the fabric, then go back down through the same hole, or very close to it. Next, push your needle halfway up through the loop, about one stitch length away from where you started. This will help create the signature chain shape, giving the stitch its lovely, textured appearance. By keeping your stitches even and consistent, you’ll achieve a smooth, clean line.
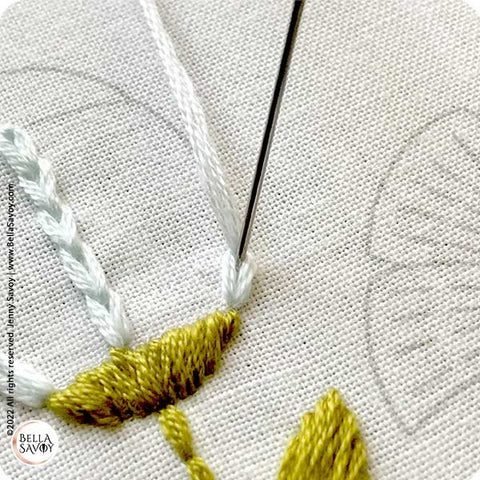
You can go ahead and pull your needle all the way through and allow the loop to naturally fall into place as the thread tightens. This will give you a smooth, clean chain stitch.
Alternatively, before you pull the needle all the way through, you can gently pull the thread tight from the back of the fabric, allowing it to hug the needle. Then, pull the needle through, securing the stitch. This step is optional, but it can help give you a tighter, more controlled stitch if you prefer.
To create the next chain stitch, return to the back of your fabric at the same spot where you last brought the needle up, right through the loop. Leave the loop a bit loose at the top so it forms a new loop, and then repeat the process. With practice, you’ll find a rhythm that suits your style.
Repeat these steps until you’ve reached a happy length. To end the stitch, add a small stitch to the end of your last loop.
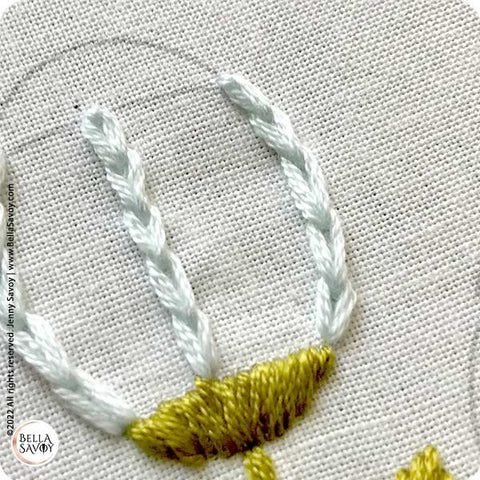
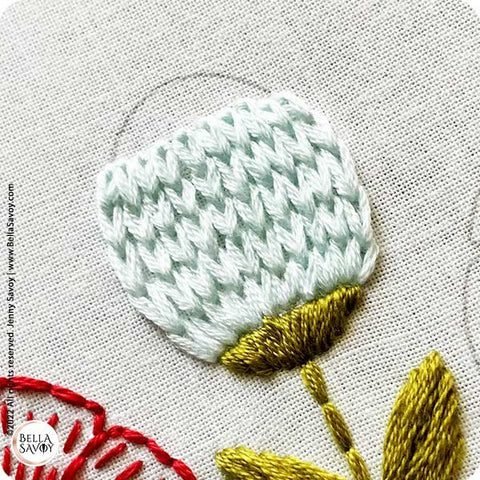
If you want to fill in a shape, simply lay rows of chain stitches next to each other to create beautiful texture and depth. How cute is that? The chain stitch adds so much character and dimension to your design! You can place the stitches very close together for a tighter, more solid fill, or space them out a bit for a looser, more open fill where the fabric peeks through. This flexibility allows you to customize the look based on the style you’re going for, whether it’s bold and defined or soft and airy. Experiment with both techniques to see which one suits your project best.
Video: Chain Stitch Tutorial
I hope you enjoyed this chain stitch tutorial and feel inspired to incorporate this simple yet impactful technique into your embroidery projects. The chain stitch is perfect for creating bold, textured lines and beautiful fills that add character and depth to your designs.
Whether you’re making a statement with thick lines or adding texture to a fill, this simple stitch is a wonderful addition to your embroidery toolbox. So, grab your favorite drink, perhaps a few cookies, and settle in for a cozy stitching session. Embracing cozy hobbies like this is the perfect way to unwind and embrace your cozy lifestyle. Don’t forget to check out the video tutorial for an easy, step-by-step guide. Happy stitching!
Take a peek at more embroidery stitch tutorials!