🖤 Do you cross stitch? If so, you probably already know how to create this charming little stitch—but have you ever thought about using it in your embroidery projects? While it’s incredibly simple to make, it’s often left out of the standard list of basic embroidery stitches, likely because it isn’t as commonly used. But that’s a shame because cross stitch has so much potential! With just a little creativity, you can use it to add delicate patterns, unique textures, and decorative designs to your embroidery work.
The same goes for the loop stitch, a wonderfully versatile technique that creates a soft, fluffy texture. It’s perfect for adding dimension, and my favorite way to use it is in flower embroidery, where it makes petals and centers look beautifully full and textured. Both stitches are easy to learn, full of character, and completely beginner-friendly. Because they’re so simple yet impactful, I’ve combined them into one easy-to-follow stitch tutorial that will help you incorporate these underrated stitches into your embroidery projects effortlessly.
The Cross Stitch
Let’s start with the cross stitch. As the name suggests, this stitch looks just like the ones used in traditional cross stitch patterns, forming a simple ‘X’ shape. It’s one of the easiest stitches to make, and while it doesn’t require much instruction, I still like to provide guidance to ensure your stitches look polished and consistent. So, here we go!
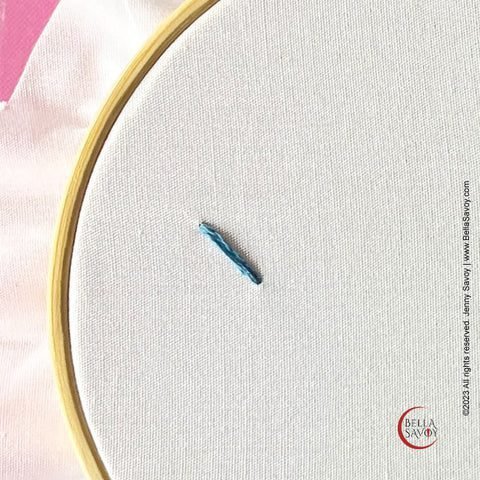
Begin with a diagonal stitch. It can go from left to right or right to left—it’s completely up to you. While the direction doesn’t matter, it’s a good habit to stay consistent, especially if you plan to add multiple cross stitches in your design. Keeping the same direction for each base stitch creates a uniform look, making your embroidery appear neater and more intentional. Whether you’re filling in a shape or creating a decorative border, this simple adjustment can make a big difference in the final result.
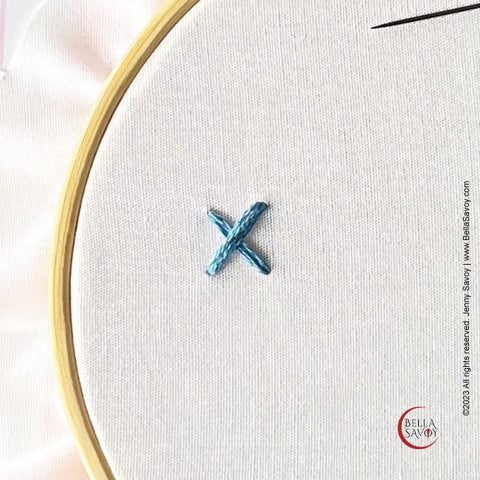
Then add a diagonal stitch over it to create the ‘X’ shape.
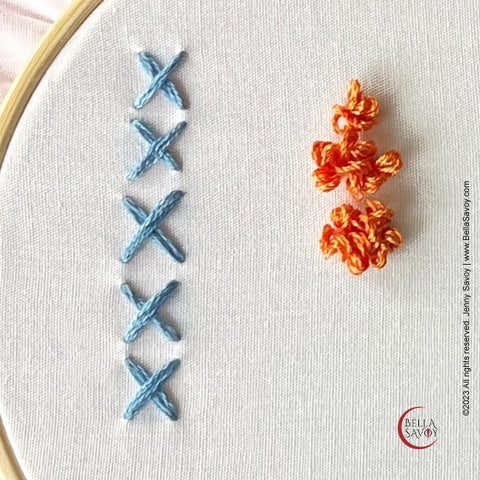
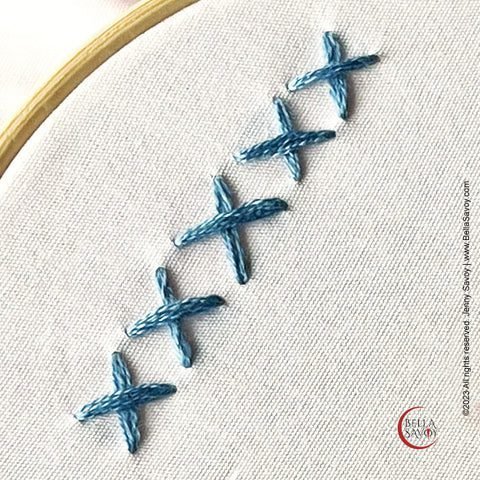
Use it as a simple stand alone accent stitch or group them to create cute design elements or even as an open fill stitch.
The Loop Stitch
The look and texture of the loop stitch is very similar to what you’d see with punch embroidery. It’s fun and loopy!
Start by coming up to the top of your fabric, then push your needle through right next to it.
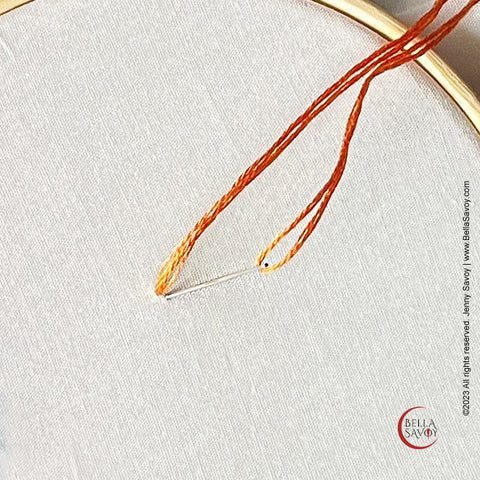
Pull your thread through slowly and leave a little loop behind.
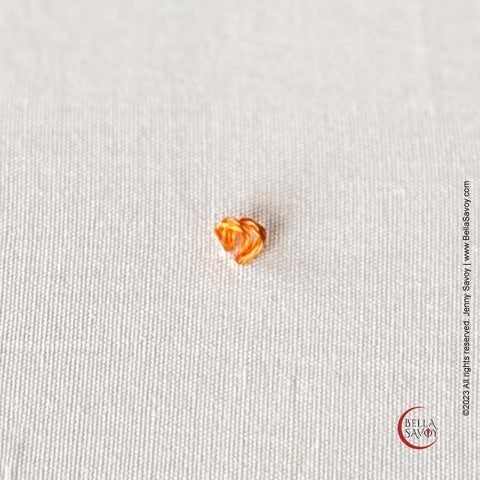
Take your time and be mindful of your tension so you don’t pull your thread too tightly. If your loop accidentally slips to the back, you can use your needle to gently pull it forward again—but let’s be honest, that can be a real pain. It’s much easier to work carefully from the start than to spend extra time fixing a rushed stitch.
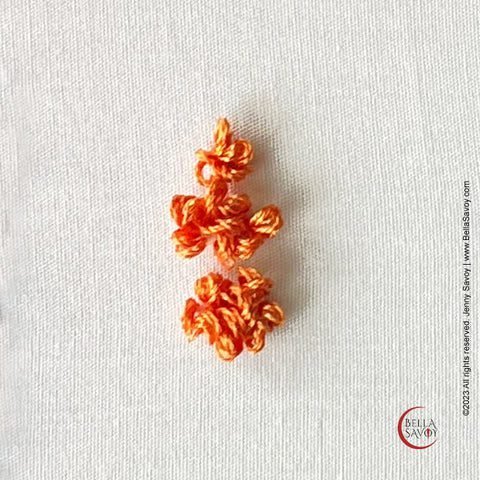
Continue adding loops close together until you achieve the fullness or texture you’re looking for. As you pull your needle through, keep an eye on your thread to prevent any loops from slipping to the back. This can happen if the loops shift or get caught in the working thread, so a little attention to detail will help keep everything in place. A gentle touch and steady pace will ensure your loops stay fluffy, secure, and exactly where you want them.
Mastering the cross stitch and loop stitch opens up so many possibilities for adding charm and texture to your embroidery projects. Whether you’re using cross stitches to create delicate patterns or loop stitches to add fluffy dimension, these simple yet versatile techniques can elevate your designs in unexpected ways. And the best part? They’re beginner-friendly, making them perfect for both new and experienced stitchers looking to experiment with different textures and styles.
Now that you’ve learned these stitches, why not put them to use? Try incorporating them into floral embroidery, decorative borders, or even playful textures on your next project. The more you practice, the more confident you’ll become in using them creatively. Embroidery is all about enjoying the process, so have fun with it, take your time, and let your creativity guide you!
Watch my Embroidery playlists on my Youtube channel for video tutorials!