🖤 Basic embroidery stitches are the foundation of every beautiful embroidery project, and learning these 5 beginner’s embroidery stitches is the first step to creating stunning designs. Now that you’ve gathered your supplies and understand the basics, it’s time to dive into this embroidery tutorial and master five essential stitches.
For anyone who wants to learn how to embroider, these basic embroidery stitches are a must as they are simple yet incredibly versatile, allowing you to create outlines, textures, and decorative details with ease. While there are countless techniques to explore, these stitches will give you the confidence to start stitching right away. Whether you’re outlining a design or adding intricate embellishments, this embroidery stitch tutorial will help you develop essential skills.
Not only will you create beautiful pieces, but embroidery can also be a soothing, mindful practice—making it a wonderful cozy hobby that doubles as stress relief and self-care.
By practicing these stitches, you’ll build a strong foundation for more advanced techniques. The more you stitch, the more comfortable you’ll become, and soon, you’ll be experimenting with creative combinations.
Once you’ve mastered these 5 basic embroidery stitches (and it won’t take long), I have no doubt that stitching will become one of your favorite creative outlets. Here are the stitches I’ll cover:
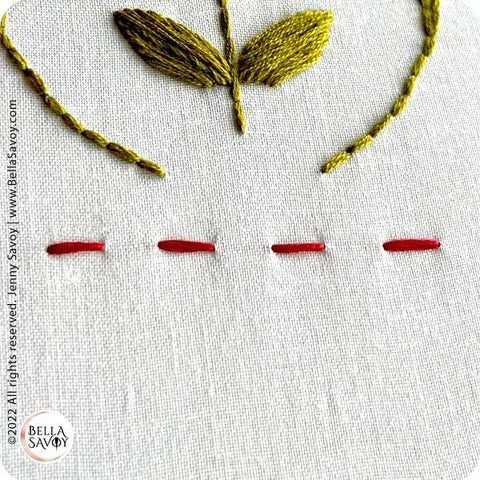
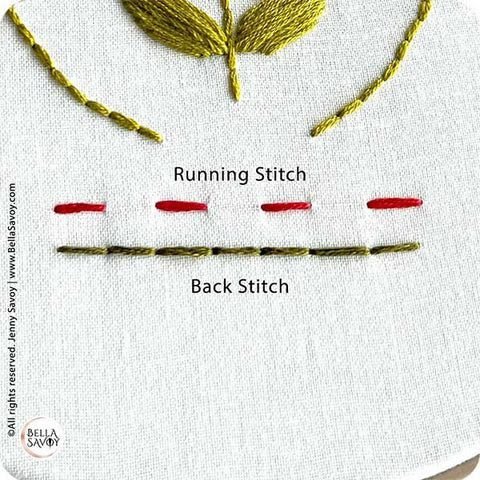
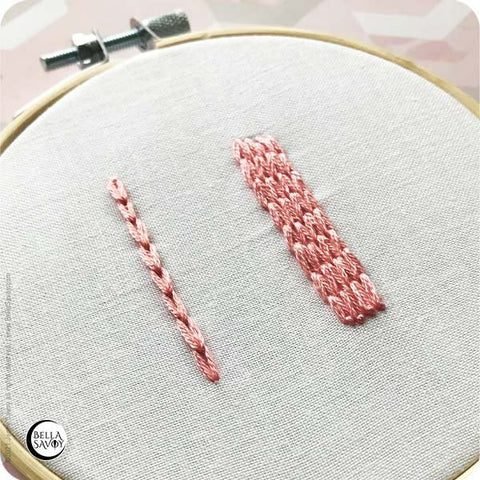
The first of the basic embroidery stitches to cover is the running stitch which looks like a dashed line you often see on main streets and highways. The stitches are typically of the same length as each other just as the gaps are of the same length as each other, although you can mix it up depending on the effect you’d like. It’s great for creating outlines and decorative elements.
Simply make one straight stitch.
Leave a gap and create another.
Repeat.
Back Stitch
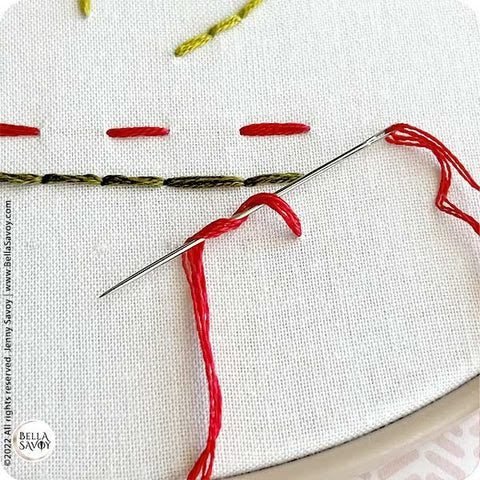
The next basic embroidery stitch is the back stitch which in some ways is similar to the running stitch but there aren’t any gaps in between each stitch. Btw, you can start either stitch from any direction; additionally, you can create straight lines or curves.
It starts just like the running stitch, by creating a single stitch, and you’ll also leave a gap when you come up to the top of your fabric.
Now here’s where it differs. Instead of moving forward, you’ll go back to the end of the previous stitch. Just repeat the last 2 steps until you’re happy with the length.
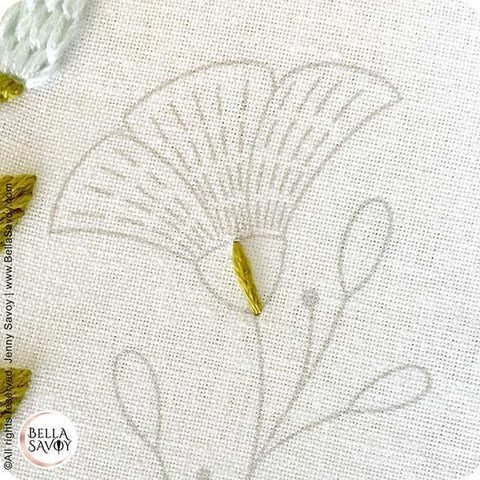
Satin
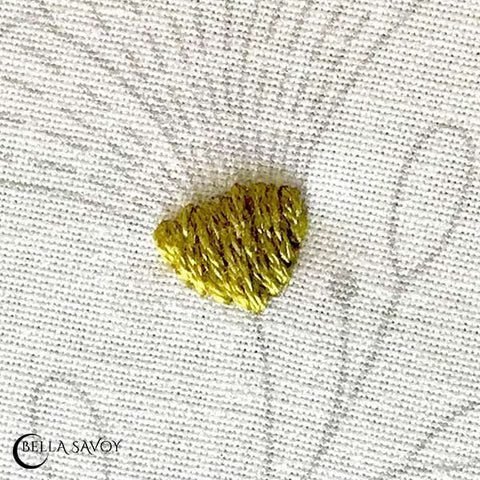
The satin stitch is used to fill in shapes and can be horizontal, vertical, or diagonal. Rows of thread are laid parallel next to each other to create a fill. There are a few ways to do this (you can find them in my satin stitch post) but here we’ll focus on one method using the receptacle of a flower.
There are no set rules on where to start so you could begin at one end of your shape or the center. I’ll start in the center to split the shape into sections.
Start by adding a straight stitch from one end to the other.
Add another row next to it from one end to the other and continue doing so until you’ve filled in one side.
Then do the same on the other side until you’ve filled your shape completely.
Chain Stitch
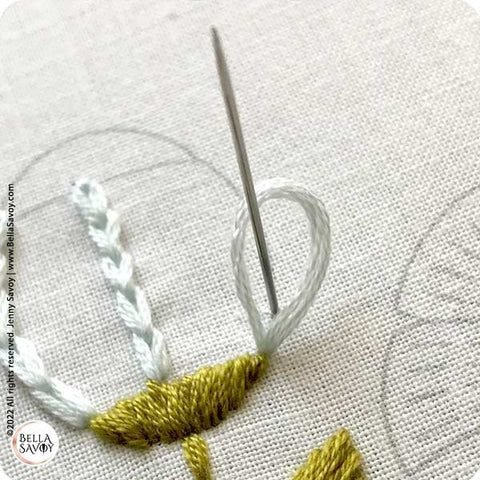
The chain stitch is a row of loops all connected to each other to create a chain. Use it for outlines as well as fills and creating textures.
Start by creating a loop:
Come up then back down into the same hole (or close to it) and leave it slightly loose to form a loop.
Come up a stitch length away through your loop and pull it through until your loop is gently snug up against your fabric.
Repeat those steps:
Make another loop by returning to the back through your previous loop.
Then come up a stitch length away through the loop and pull all the way through until your 2nd loop is nice and snug up on your fabric.
Continue these steps to create more.
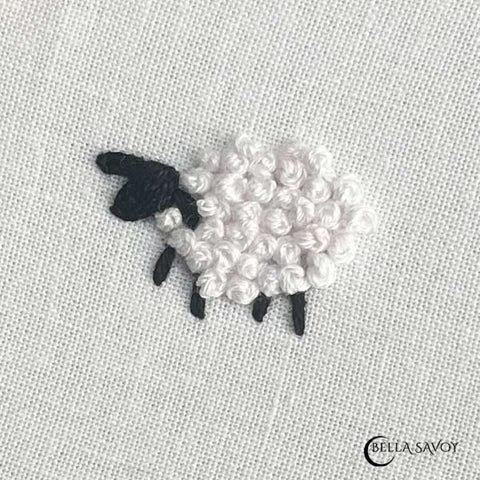
French Knot
The last of the basic embroidery stitches to cover is the french knot is a cute decorative stitch which is also used for fills and textures. You can vary the number of wraps you use but for this tutorial just use 2.
Come up to the top of your fabric and wrap your thread over and around your needle twice.
Then push it back halfway through (or close to) the entry point, pull the thread tight until it hugs your needle.
Carefully pull your thread though to form a knot. It helps to hold the thread down near your needle as you do this.
There you have it! You can use these 5 basic embroidery stitches to create all sorts of cute embroidery work.