

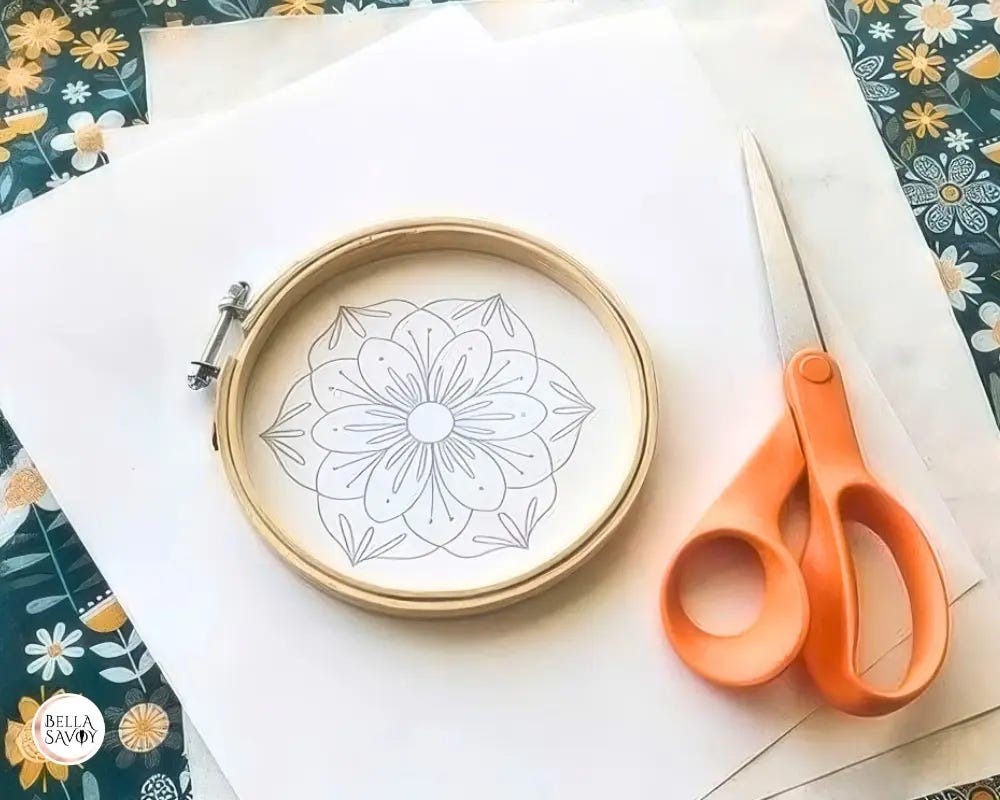
If you’re like me, then you’re not a fan of tracing embroidery patterns onto fabric. It’s my least favorite part of the entire process and something I used to really dread — I just wanted to jump into stitching — that is until I did a little experiment and found a quick solution.
I’m going to show you how to transfer patterns with a home printer and sticker paper that you just might fall in love with!
This method is not only precise, it completely simplifies the whole process. No smudging, no fading, and no extra steps to remove markings when you’re done — just clean lines, ready to stitch.
I’ve transferred embroidery patterns hundreds of times this way and it’s become my go-to embroidery transfer technique without question. And it won’t cost you much to get started. If you already own a printer, a pack of sticker paper is really all you need.
I also love using stick and stitch paper — it also uses the printer and is even easier to set up — but there’s a trade-off. Once your stitching is done, you have to dissolve the stabilizer in water, let it dry, then rehoop before you’re truly finished.
It’s still a simple process, and if you want to give it a try I have a full tutorial on how to use and make stick and stitch transfers!
But for a method that requires zero cleanup once the stitching is done, the sticker paper approach wins. You do a little more work upfront, and nothing afterward. Plus, the sticky stabilizer can get pricey — this method gives you the same great results for a fraction of the cost.
If you don’t have a printer yet, a decent one runs around $100 -$200 (at the time of this post writing) — an affordable option, and you’ll get plenty of use out of it beyond embroidery. So many of you have asked me how I do this, so today I’m breaking down the whole process from start to finish.
Disclosure: As an Amazon Associate, I earn from qualifying purchases at no extra cost to you.
Click here for a FREE EMBROIDERY PATTERN
What You’ll Need to Transfer patterns
These are the only supplies you need to print on fabric with a home printer:
Printer — Both inkjet and laser printers work well. I use a Brother laser printer and an Epson Ecotank inkjet and both work great, but I almost always prefer my Epson printer. It prints beautifully and I use it every single day. I have yet to refill the ink tanks after a full year!
Sticker paper — I use Online Labels 8.5 x 11 inch sticker paper, but any full-sheet sticker paper in that size works just fine.
Fabric — Your fabric needs to be slightly larger than your sticker paper with at least half an inch on all sides. Keep in mind that with a standard home printer, you’re generally working within the size of an 8-inch hoop. If you need to transfer patterns for a larger hoop, there’s a simple workaround I’ll walk you through in step four.
Fabric scissors — Use fabric scissors rather than embroidery scissors for trimming. Your hand will thank you.
Your pattern — Print your pattern onto paper and make sure it’s centered and the size you want.
How to Transfer Embroidery Patterns onto Fabric: Step-by-Step
1. Step One — Attach the sticker paper to your fabric
Start with your ironed fabric laid flat on a clean surface.
Take your sheet of sticker paper and fold back about 2 inches of the backing to expose the sticky side.
Press that exposed section firmly onto one end of your fabric to anchor it in place.
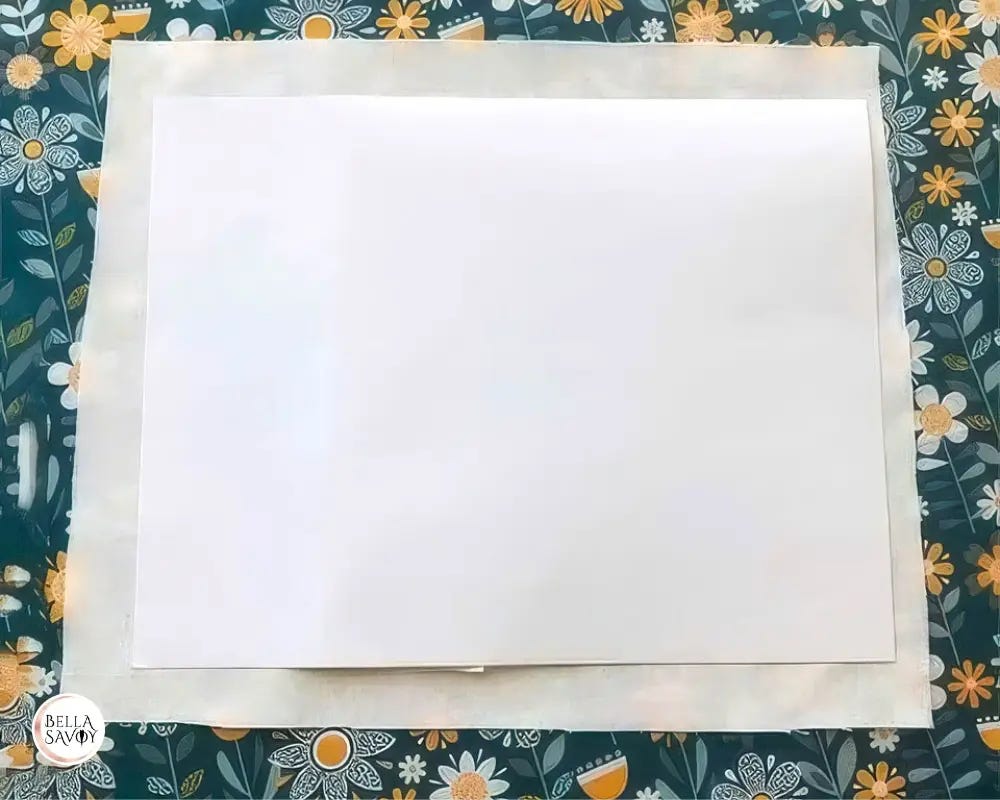
From there, slowly peel the rest of the backing away inch by inch, smoothing the sticker paper down onto the fabric as you go. Take your time here — working slowly helps prevent bubbles and wrinkles from forming.
Once the backing is fully removed, rub firmly over the entire surface to make sure everything is securely bonded.
Flip the fabric over and smooth out any wrinkles on the front side. Be sure your hands are clean to avoid transferring any dir or oil onto the fabric.
2. Step Two — Trim and secure the edges
Trimming the fabric with the sticker paper attached is important so it feeds cleanly through your printer.
Place it back down on a hard surface. If the fabric side is facing up, lay a clean sheet of paper on top before rubbing it down — this keeps oil and dirt from your hands off the fabric.
Press firmly all over, giving the edges extra attention.
Next, gently pinch along each edge and pull outward to check for loose threads. Remove any that come away easily and trim stubborn ones with scissors.
Then go over the edges one more time with firm pressure. It might feel like a lot of attention for such a small detail, but loose edges are the most common cause of printer jams — a few extra seconds here saves a lot of trouble later.
3. Step Three — Print your pattern
Before you transfer embroidery patterns onto fabric, do a test print on paper at around 40% opacity. Lighter lines are easier to hide behind stitches and less likely to be a distraction. It’s one of those small beginner embroidery tips that makes a big difference in the final result.
If your test print looks centered and clean, load your fabric into the printer tray — fabric side up, not sticker side — and print using plain paper settings at normal quality.
One note on dark fabric: this method won’t show up on darker materials since the ink isn’t opaque enough to be visible. For dark fabric, you’ll need a different embroidery transfer technique, like white carbon paper or a transfer pen designed for dark backgrounds. I cover several of those options in my post on embroidery transfer techniques.
4. Step Four — Peel and hoop
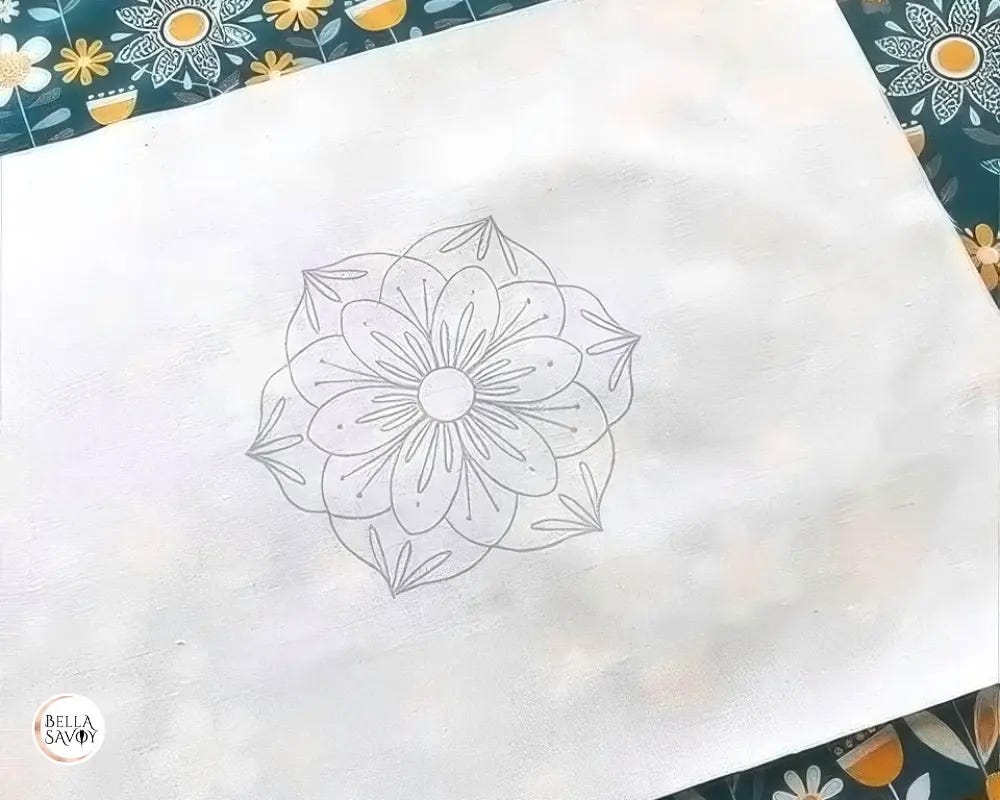
Carefully peel the sticker paper away from the fabric and you’ll be left with your pattern printed clean and crisp, right where you want it.
Hoop it up and start stitching — no soaking, no heat removal, nothing else to do.
By the way, you can reuse your sticker paper two or three times before it’s time to retire it. As the stickiness wears off, the risk of a printer jam goes up — so it’s not worth pushing it past that.
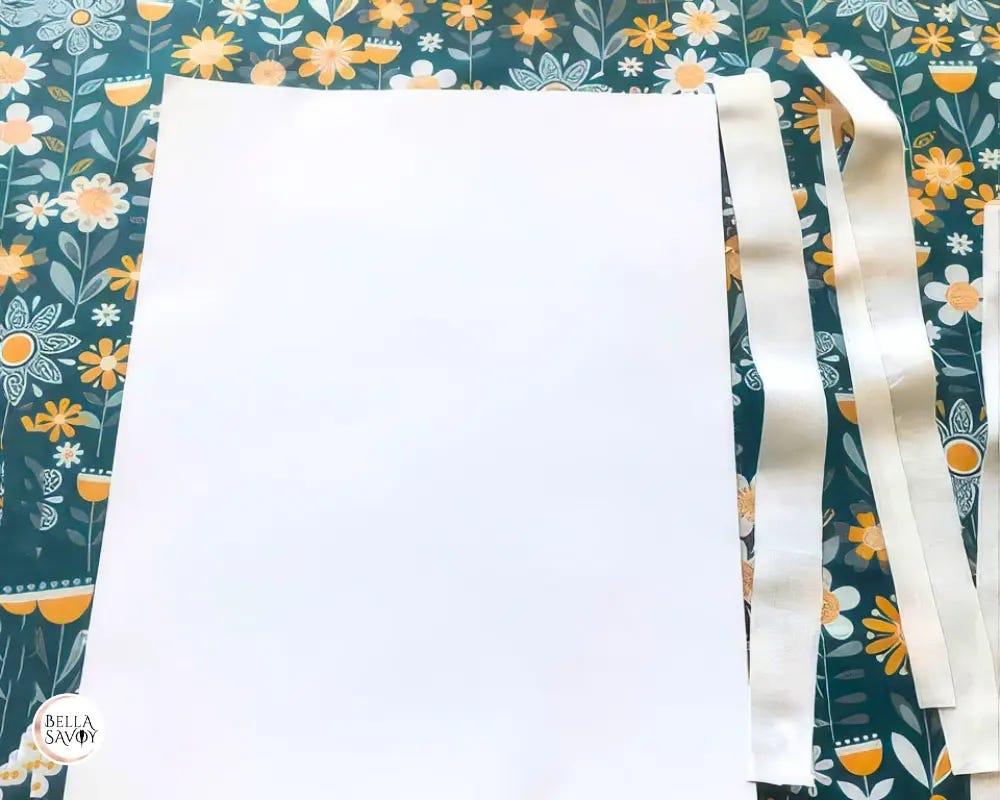
If you’re working with a pattern sized for an 8-inch hoop and your fabric is coming up short on the narrow side, here’s a quick fix: sew an additional 1.5-inch wide strip of fabric along each narrow edge. The added pieces won’t be visible from the front, and you’ll have plenty of fabric to grip in the hoop without distorting your design.
I hope this embroidery tutorial makes transferring embroidery patterns something you actually look forward to — or at the very least, something you stop dreading! If you want to stitch along with the mandala I used here, head over to that post and download the free pattern. Thread colors and stitches are all included.
And if printing isn’t an option, no worries — there are plenty of other embroidery transfer techniques to try out that work too!
Watch the Video Tutorial
Sometimes it’s easier to see it in action. Follow along with the video below and you’ll have your pattern transferred onto fabric in no time.
