

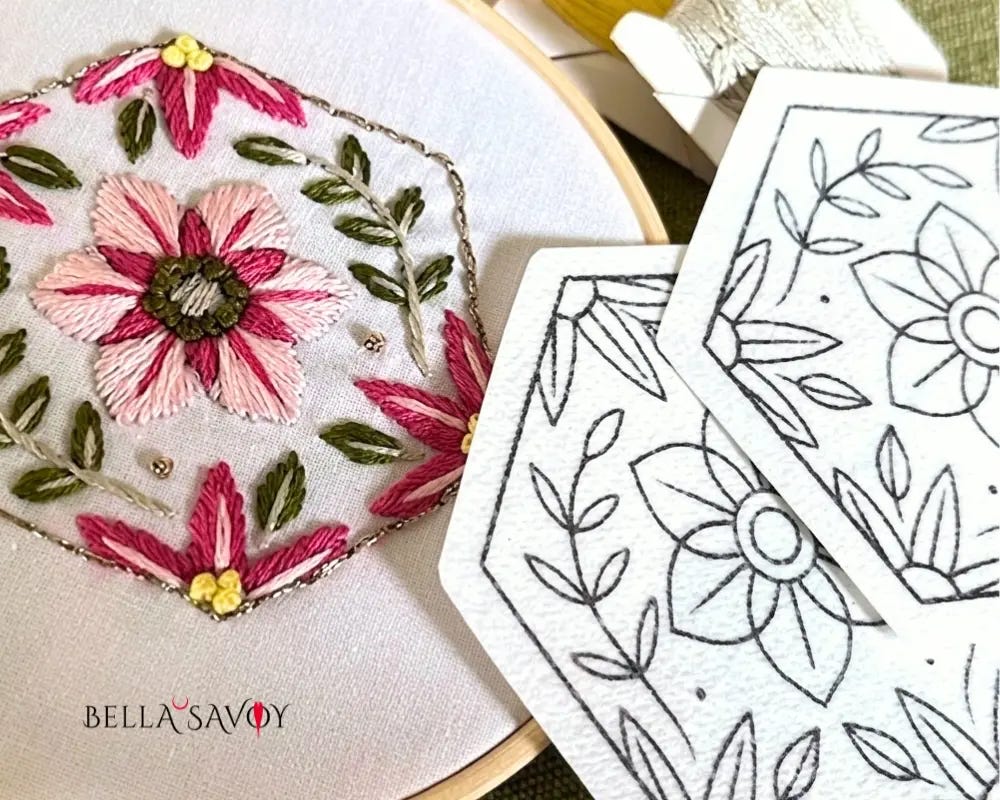
If you’ve purchased one of my stick and stitch embroidery sticker packs, this blog post is here to provide you with stick and stitch tips to expand a bit on the simple instructions included with your pack.
But if you’re new here and want to learn more about these fun stick and stitch embroidery stickers, I’m glad you’re here because I love to share the fun!
Disclosure: As an Amazon Associate, I earn from qualifying purchases at no extra cost to you.
Click here for a FREE EMBROIDERY PATTERN
What is Stick and Stitch?
Stick and stitch stickers are an easy way to transfer embroidery patterns onto fabric so you can start right away! They take the labor of tracing out of the equation. If you like tracing, that’s great! But not everyone (like myself) enjoys that step, so this is where stick and stitch comes in.
Essentially, stick and stitch stickers are simply embroidery designs on thin sticky stabilizer — you just peel the back, stick it to your fabric, stitch, and dissolve it in water at the end. It provides you with nice crisp lines to work with right away.
Not only can you use them on hooped fabric but also on other things such as shoes, purses, and clothing. Sometimes, it’s really difficult to use the window method or even carbon paper on certain surfaces that aren’t totally flat or the material isn’t ideal, which makes stick and stitch designs perfect in those cases.
They are super easy to use but to make the best of them it helps to understand their nature. I’ll be sharing my favorite stick and stitch tips with you so you can avoid some of the simple mistakes beginners make.
I absolutely love how easy stick and stitch is to use so I’ll explain just how to use them and share some tips to help you understand their nature and avoid some simple mistakes beginners make.
How to Use Stick and Stitch Stickers
First, let’s go over how to use them. My designs are all precut so you won’t have to do any additional trimming.
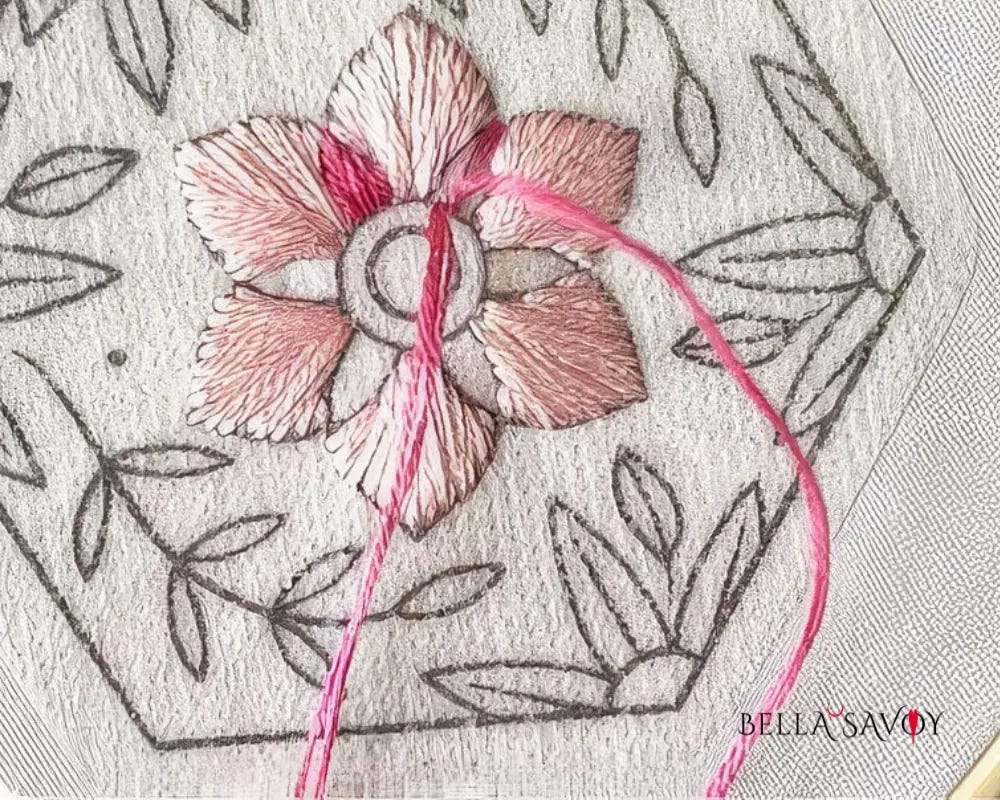
Find a design you like and the fabric you’ll be adding it to. Use a lint brush to clean off the surface, then peel the backing off and stick it to your clean surface carefully.
Turn the fabric over and set it on a hard surface. Give it a good rub to secure the sticker. You can also rub the front side if you can’t quite get to the back — in this case, place a piece of cloth over the sticker so you’re not rubbing the design off. Give the edges a little extra love.
You’re now ready to start stitching over the sticker. Take your time and have fun with it!
How to Remove the Stick and Stitch Sticker
Once your stitches are all in place, the next step is to dissolve your sticker. If you used a hoop, remove your fabric from it.
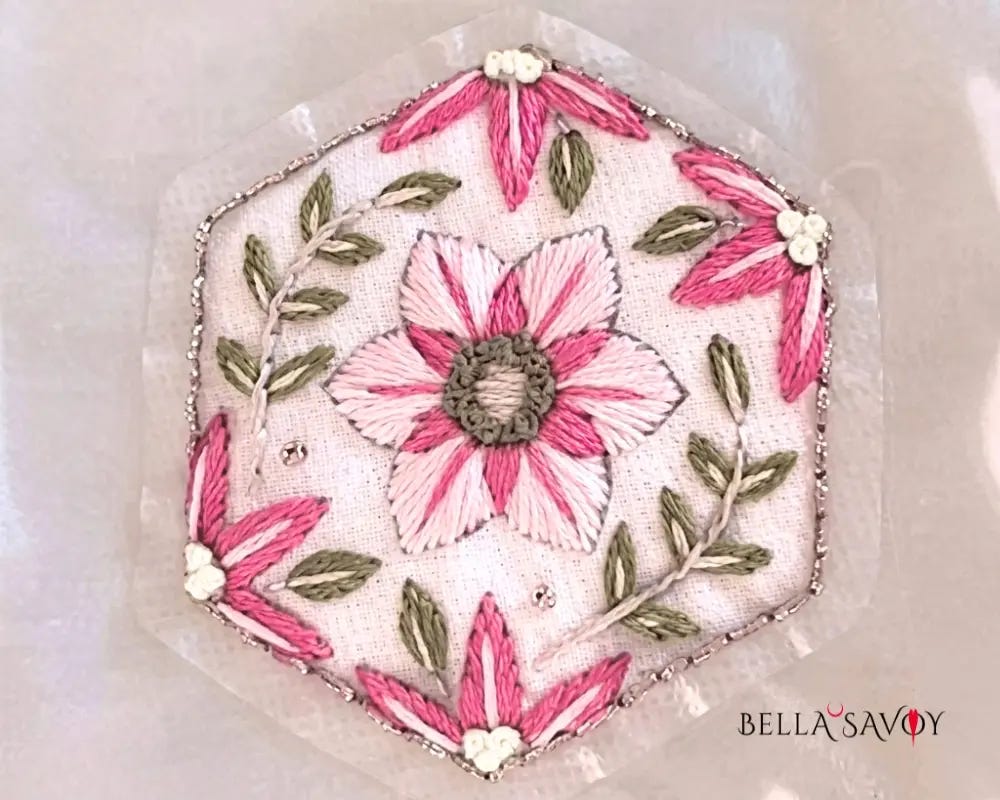
Set your design in warm water for around 2 -3 minutes. You’ll notice the stabilizer dissolving right away. It’s actually quite fun to watch! Agitate it every so often to help it along.
Next, rinse your design under warm running water and gently squeeze out stabilizer that is sitting under your stitches. You may need to do this a few times. Cold water doesn’t work as well.
Next, roll your fabric and gently squeeze out excess water.
Unroll and lay your project out flat to dry.
Once dry, tug the fabric to reduce the wrinkles set your fabric back in it’s hoop (that’s if you intend for it to be hooped).
If you’ve added it to clothes, you can iron your design from the back.
Stick and Stitch Embroidery Tips
I’ve been using stick and stick since 2000 so I’ve compiled a list of tips I wish I had when I first started using them. I hope you’ll find them useful!
Wash your fabric before you start stitching. Some fabrics may shrink or bleed and pre-washing them can help prep them so your end result looks beautiful, not warped.
Stick and stitch stickers can be used on a variety of fabrics but they stick best to smooth surfaces with little stretch, like cotton and linen. It’s still possible to use on fabrics with a little more texture, like felt — the stick and stitch sticker may move around a bit since the surface isn’t perfectly smooth so in this case, take a little extra time and care as you stitch.
Stick and stitch stickers can be used on dark fabric, but it’s a lot harder to see which means you really have to have good light. The stabilizer is thin so it’ll pick up the color of the surface you stick it to. For a first project, use light color fabric so you have a fun (not frustrating) experience.
If you select a fabric that has some stretch, you may want to add a stabilizer to the back to avoid uneven and wonky stitches caused by stretching. I tend to steer clear of stretchy fabric if I can.
Because the stickers have adhesive, your needles can get a little gummy at times. Keep some rubbing alcohol and cotton pads nearby and clean your needles off every so often to prevent buildup.
Stick and stitch stickers dissolve when wet so keep drinks away from your work area. Make sure your hands are completely dry — if they tend to get sweaty or if you live where it’s humid, use a fan to avoid issues.
Embroidery thread matters. Some off-brand thread may bleed when wet, so make sure to test them out before you spend time stitching.
When placing the sticker on your fabric, set it down lightly to make sure it’s exactly where you want it before you give it a good rub so you can reposition it without compromising the adhesive strength.
Sometimes, the edge of the sticker may pull up. This can happen because it is a sticker that isn’t meant to be there permanently, for one. But it also depends on your fabric, repositions, even how fast you pull your needle and thread through. Simply hold it down with your finger when you pull your needle through, and go slow and steady.
If you have trouble peeling the backing off the back, use the tip of your needle and gently pick the front near the edge. I pick mine about a millimeter or two from the edge instead of directly at the edge and it works great!
I hope you find these tips useful and helpful! Have fun sticking and stitching! If you need some stick and stitch packs to keep you busy don’t forget to stop by my Etsy shop.
Happy stitching!
Video Tutorial: How to Use Stick and Stitch Embroidery Stickers
