

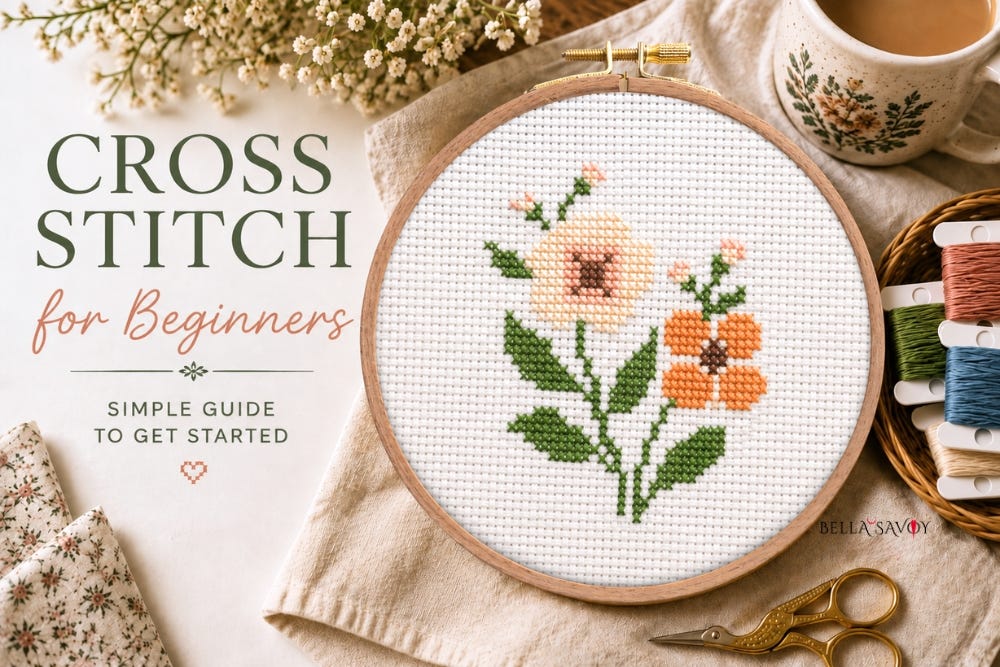
Have you been wanting to try cross stitch but aren’t quite sure where to begin?
Maybe you’ve seen beautiful cross stitch designs and thought, I’d love to make that, but the fabric, colorful threads, patterns, and little symbols all seem a bit confusing at first.
The good news? Cross stitch is one of the most beginner-friendly needlecrafts to learn. Once you understand a few basic ideas, you can pick up a needle, make your first stitches, and start watching your design come to life.
You don’t need previous needlework experience, either. All you really need are a few basic supplies, a simple pattern, and a little patience as you learn.
Disclosure: As an Amazon Associate, I earn from qualifying purchases at no extra cost to you.
Cross Stitch for Beginners: What This Guide Covers
Think of this guide as your roadmap to getting started with cross stitch.
We’ll walk through what cross stitch is, the supplies you’ll need, how to choose fabric, how patterns work, and how to make your first stitches.
Some of these topics deserve a little more detail, so I’ll link to more in-depth beginner guides as the series grows. For now, let’s start with the basics.
What Is Cross Stitch?
Cross stitch is a form of counted needlework where you create small X-shaped stitches on fabric to form a picture or design.
It’s usually worked on fabric with an even grid of holes, which gives you a natural guide for placing each stitch.
A cross stitch pattern acts as your roadmap, showing you where each stitch belongs and which color of thread to use. You don’t have to draw the finished picture yourself—you simply follow the pattern, one stitch at a time.
Cross Stitch Supplies
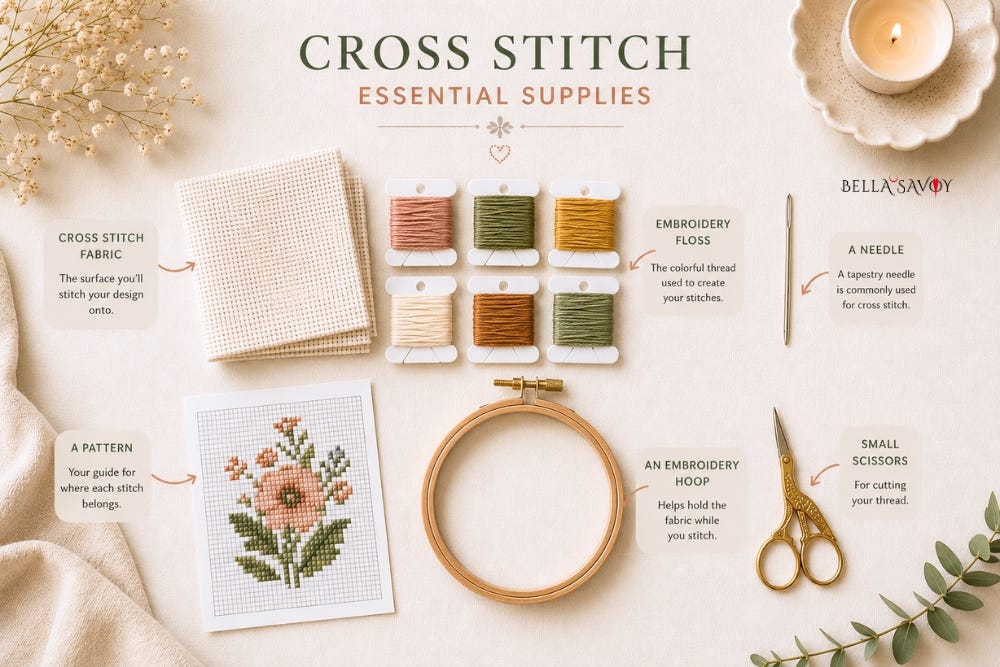
One of the best things about starting cross stitch is that you don’t need a room full of supplies.
For your first project, you’ll generally need:
Cross stitch fabric — The surface you’ll stitch your design onto.
Embroidery floss — The colorful thread used to create your stitches.
A needle — A tapestry needle is commonly used for cross stitch.
A pattern — Your guide for where each stitch belongs.
An embroidery hoop — Helps hold the fabric while you stitch.
Small scissors — For cutting your thread.
That’s really all you need to get started.
There are plenty of additional tools and accessories you can collect as you become more experienced, but you don’t need them to make your first project.
Choosing Cross Stitch Fabric
Choosing fabric can seem confusing at first because cross stitch fabric comes in different types and counts.
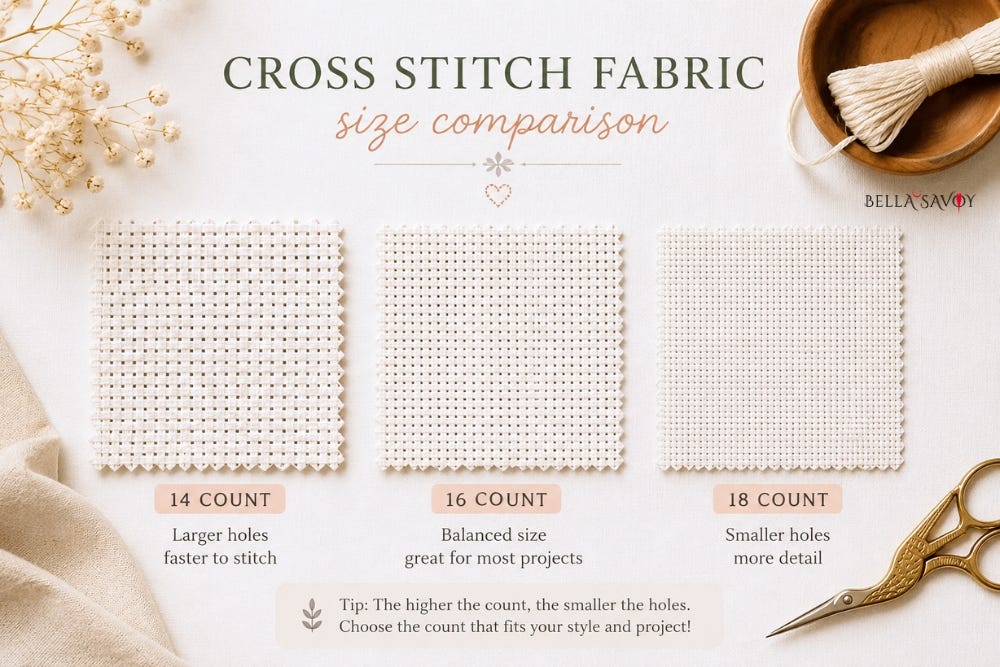
For many beginners, Aida fabric is an especially easy place to start. Its clearly defined grid makes it simple to see where your stitches belong.
You’ll also hear terms such as 14-count, 16-count, and 18-count Aida.
The number refers to how many fabric squares fit across one inch. For example, 14-count Aida has 14 squares per inch.
The important thing to remember for now is that a higher fabric count means smaller stitches, which also means a smaller finished design.
You don’t need to memorize all the different fabric counts before starting. Once you have a pattern in mind, you can choose a fabric count that gives you the finished size you want.
For a closer look at Aida fabric, fabric counts, and how to calculate your finished project size, see Cross Stitch Fabric for Beginners: Understanding Aida Count (coming soon).
Understanding a Cross Stitch Pattern
A cross stitch pattern is essentially a map for your project.
Most patterns use a grid, with each square representing a stitch. Symbols, colors, or both tell you which thread color to use.
A pattern will usually include information such as:
The design’s stitch count
A chart
A color key
The thread colors needed
Information about the recommended materials
You may also see a pattern described by its stitch count. For example, a pattern that’s 50 × 50 stitches is 50 stitches wide and 50 stitches tall.
The actual finished size depends on the fabric you’re using, so stitch count and finished dimensions aren’t the same thing.
For now, simply think of stitch count as the number of stitches that make up the width and height of your design.
If patterns and charts look confusing at first, don’t worry. [How to Read a Cross Stitch Pattern: A Beginner’s Guide]will walk through charts, symbols, keys, and how to keep your place as you stitch.
How to Cross Stitch: The Basic Stitch
Now for the part you’ve probably been waiting for: how to make a cross stitch.
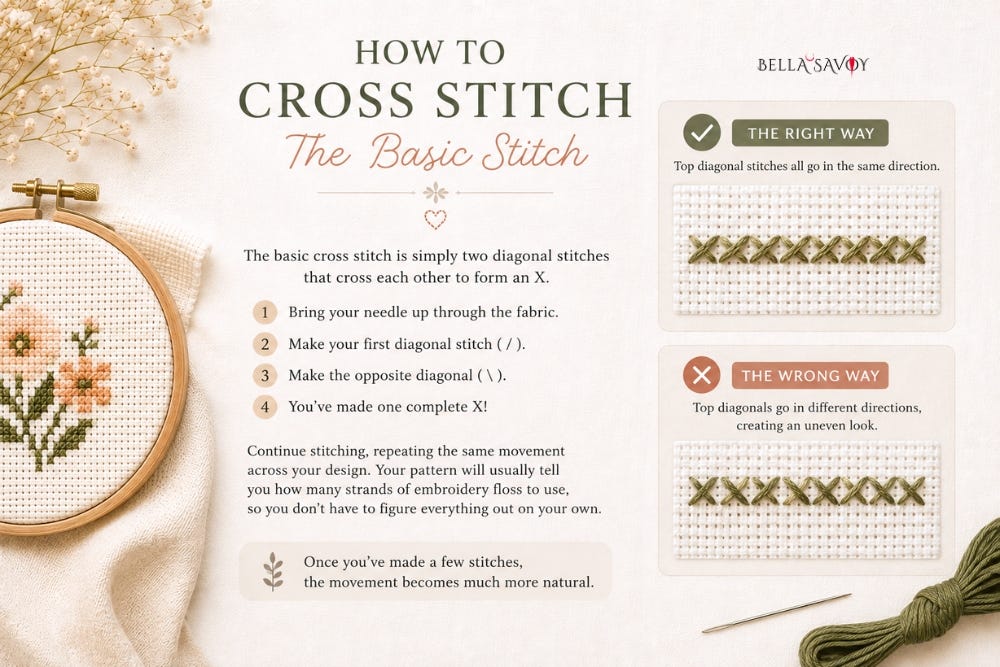
The basic cross stitch is simply two diagonal stitches that cross each other to form an X.
You’ll bring your needle up through the fabric, make one diagonal stitch, then make the opposite diagonal to complete the X.
As you continue stitching, you’ll repeat that same movement across the design.
One small detail makes a big difference: try to keep the top diagonal of each X going in the same direction. This gives your finished stitches a neat, consistent appearance.
Your pattern will usually tell you how many strands of embroidery floss to use, so you don’t have to figure everything out on your own.
Once you’ve made a few stitches, the movement becomes much more natural.
How to Start Your First Cross Stitch Project
Once you have your basic supplies, it’s time for the fun part: choosing something to stitch.
Choose a Beginner-Friendly Pattern
For your first project, look for something relatively small and manageable.
A design with fewer colors, clear blocks of stitching, and an easy-to-follow chart can be more comfortable while you’re getting used to counting.
Most importantly, choose something you actually like. A simple flower, animal, seasonal design, or decorative motif can be much more motivating when you’re excited to see the finished piece.
Start Small
It can be tempting to choose a large, elaborate design when you’re first discovering cross stitch.
But there’s something special about finishing your first project. A smaller design lets you learn the basics, see your progress, and experience that wonderful moment when you make your final stitch.
Remember that small doesn’t necessarily mean quick. A design with lots of color changes or individual stitches can take longer than you might expect, even when the finished piece is only a few inches across.
Follow the Pattern One Stitch at a Time
You don’t need to understand the entire pattern before you begin.
Start with your chosen area, follow the symbols carefully, and work one stitch at a time. Before long, those individual X’s will start turning into something recognizable.
If you’re not sure where or how to begin, I’ll walk you through preparing your fabric, finding your starting point, and beginning your first stitches in a future post.
Don’t Assume a Small Pattern Will Be Quick
One thing that surprised me when I first started cross stitching was how long even a tiny design could take.
My first pattern was just over 1.5 × 1.5 inches. I thought it would be complete in an hour or two—it took me almost 6 hours!
That experience taught me that finished size isn’t the only thing that determines how long a project will take. Stitch count, the number of colors, color changes, and the complexity of the design can all affect your stitching time.
So when choosing your first project, give yourself permission to take your time. The goal isn’t to finish as quickly as possible. It’s to learn, enjoy the process, and eventually have something you’re proud to say you stitched yourself.
Cross Stitch vs. Embroidery: What’s the Difference?
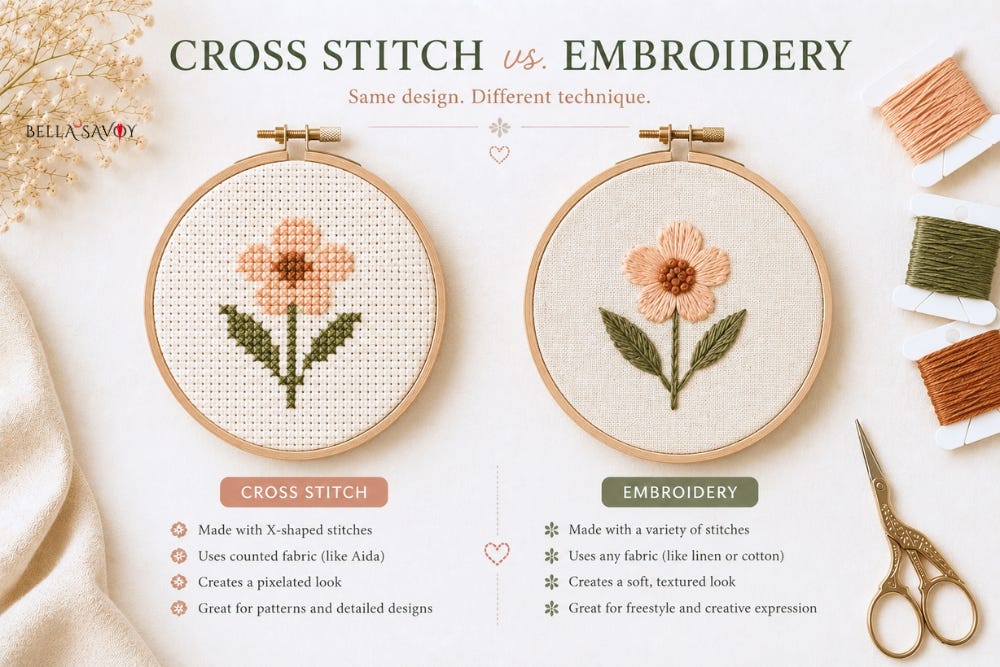
Cross Stitch vs. Embroidery: What’s the Difference?
If you’ve discovered cross stitch while looking for embroidery projects, you may be wondering how the two crafts are different.
Cross stitch is generally worked using X-shaped stitches on a gridded fabric, with a pattern guiding the placement of each stitch.
Embroidery is a much broader category of needlework. It can include many different stitches, fabrics, techniques, and styles.
The two crafts have plenty in common, though. Both involve working with needle and thread to create something decorative by hand, and learning one can make it easier to explore the other.
If you’d like to try embroidery, too, you can explore my embroidery tutorials for beginner-friendly projects and techniques.
You may discover that you enjoy moving between the two depending on the kind of project you’re in the mood to make.
What to Learn Next
You now have the basic knowledge you need to understand how cross stitch works, but there’s plenty more to learn as you get comfortable with the craft.
More beginner-friendly cross stitch guides will be added as the series grows, so you can learn one step at a time without having to figure everything out at once:
Cross Stitch Fabric for Beginners: Understanding Aida Count
Learn more about Aida fabric, fabric counts, finished project sizes, and how to choose the right fabric for your pattern.
How to Read a Cross Stitch Pattern: A Beginner’s Guide
Learn how charts, symbols, color keys, stitch counts, and pattern grids work—and how to keep your place as you stitch.
How to Start Cross Stitch
Learn how to prepare your fabric, thread your needle, find your starting point, and begin your first project with confidence.