

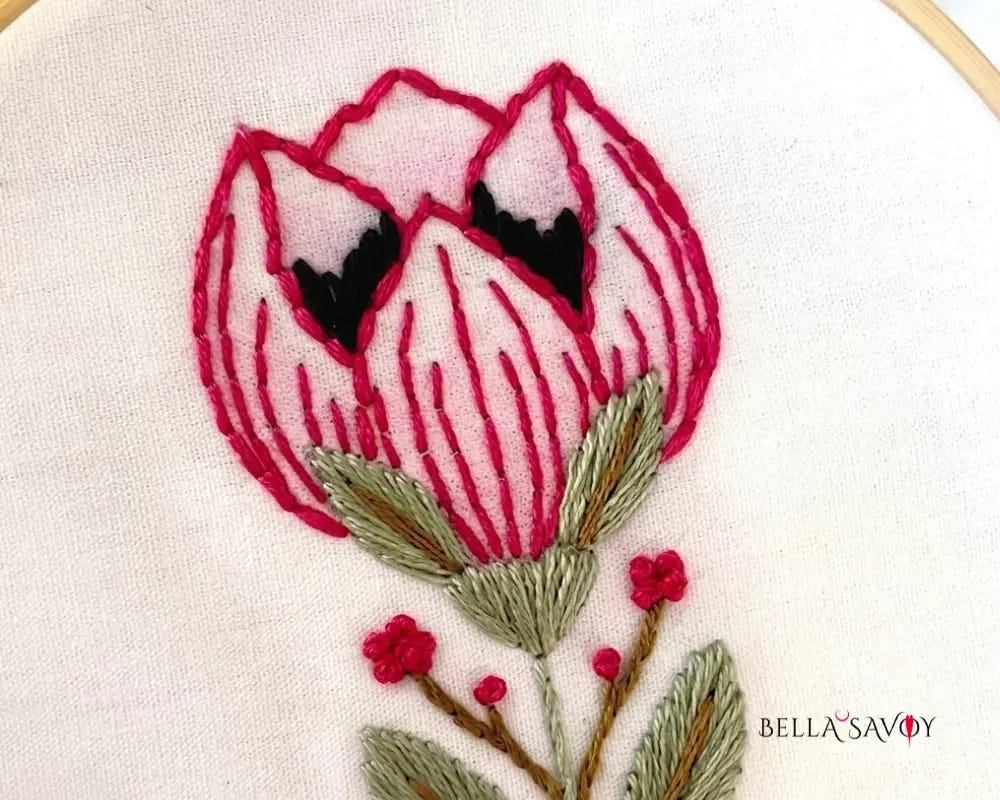
Did you know you can add a little extra pop of color to your embroidery work without a single extra stitch? Crayons are the secret — and this tutorial will show you exactly how to color fabric with them to create soft, beautiful tints that make your embroidery really shine.
There are a few ways to color fabric for embroidery — paints, colored pencils, and crayons each have their place — but crayons are hands-down the easiest option to start with, especially if you’re newer to embroidery. They’re inexpensive, easy to find, and give you just the right amount of soft color without the learning curve that comes with paint.
This tutorial walks you through the whole process, from prep through stitching.
Disclosure: As an Amazon Associate, I earn from qualifying purchases at no extra cost to you.
Click here for a FREE EMBROIDERY PATTERN
What You’ll Need
Hooped embroidery pattern
Iron
Paper towel
Mod Podge, water & a small paint brush (optional, but recommended)
Prep Work: Get Your Fabric Ready
Before you reach for a single crayon, get your fabric set up properly. Transfer your design to the fabric first, then add it to your hoop. If you have a home printer, printing directly onto your fabric is genuinely one of the best methods out there — it’s fast, precise, and takes a lot of the fuss out of transferring. You can find the full walkthrough in this home printer transfer tutorial.
Once your fabric is hooped and your design is in place, you’re ready to start adding color.
A note on fabric: stick to white or light-colored cotton or linen for the best results. Darker fabrics or heavily textured weaves can make it tricky for the color to show up or adhere properly. When in doubt, test on a scrap piece first.
How to Color Fabric with Crayons
Here’s the most important rule of this whole embroidery tutorial: always color your fabric before you stitch. Always. If you try to add crayon color after your stitching is done, you’ll run into tight corners that are hard to reach, and you risk dragging color onto nearby thread — particularly if it’s light. Trust me, color first.
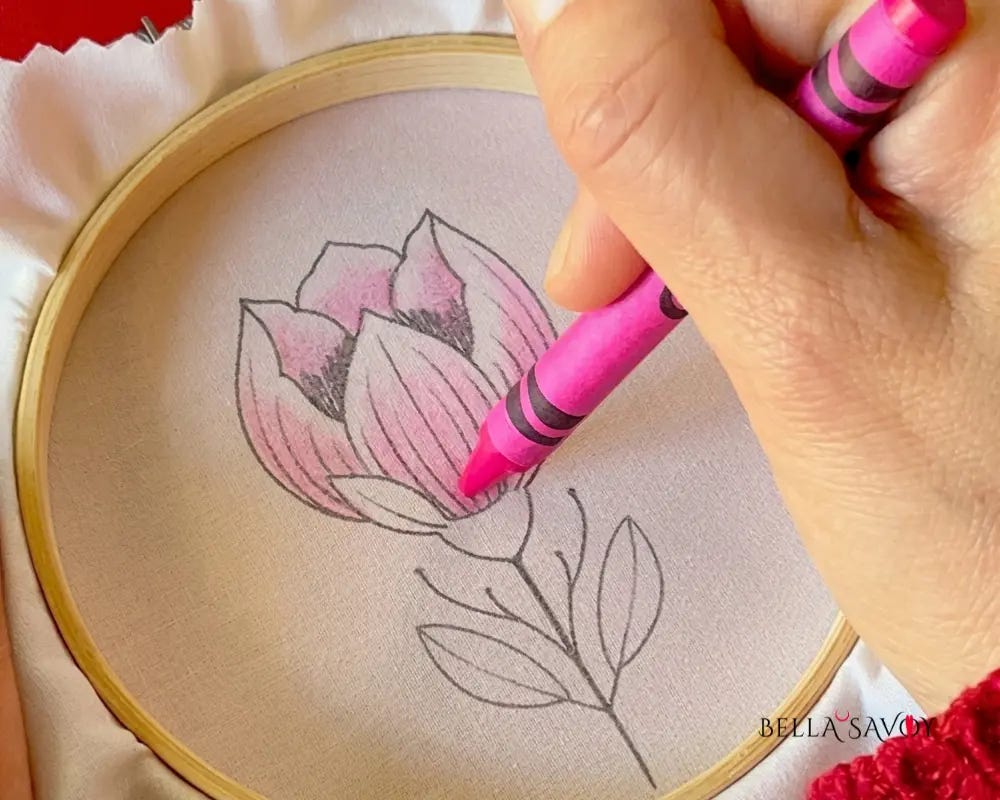
Start With a Plan
Before you touch crayon to fabric, take a moment to think through where you want color to go and which shades you’ll use. Changing colors once they’re already on the fabric is tricky, and results can be unpredictable. A quick mental (or actual) sketch saves a lot of headache.
Apply Color in Light Layers
Working one section at a time, gently shade in a thin layer of color. There’s no right or wrong direction to color — just go with what feels comfortable. The key is a light touch. Pressing too hard will leave your work looking waxy and can actually make it harder for your embroidery stitches to stand out. Instead, feather the color in softly, add a second layer, then a third if needed. Building up slowly gives you so much more control.
Don’t Overdo It
Crayons are wonderful for soft tints and gentle color washes, but they’re really at their best when used to accentuate your embroidery, not to take center stage. The stitching is the star — the color is just a lovely supporting act.
If you do accidentally add too much, you can carefully scrape some away, but fair warning: it gets messy. Slow and steady really is the way to go here.
Remove Excess Wax
The more layers of color you build up, the brighter the result — but also the more waxy residue you’ll have on the surface. You’ll want to remove that before you start stitching.
It’s simple: place a paper towel over your colored area and run a hot iron over it for several seconds. Any excess wax will melt off onto the towel. If your layers have been fairly light, you may barely notice anything transferring — and that’s a good sign you’ve kept it perfectly balanced. Keep in mind that this step will pull out a tiny bit of color too, but it really can’t be avoided and the tradeoff is worth it.
Once the wax is pressed out, your fabric is ready for stitching!
Sealing in the Color (Optional but Recommended)
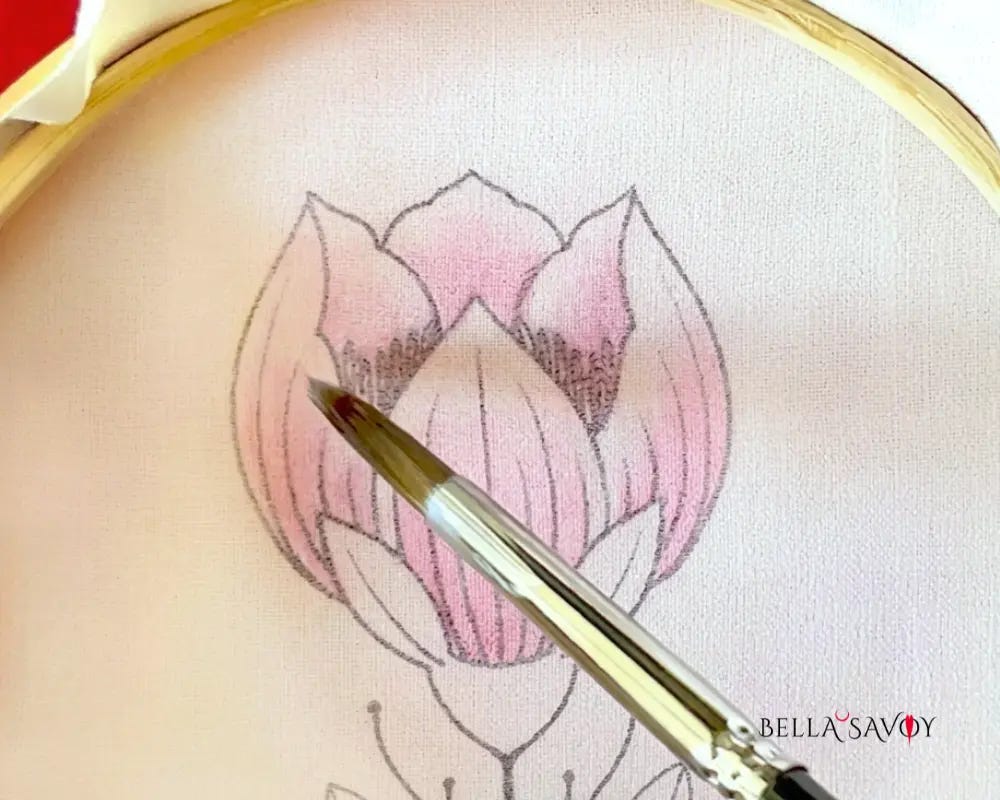
This step isn’t strictly necessary, but I really do recommend it. Even after pressing, crayon color isn’t fully smudge-proof, and as you work, small amounts can transfer onto your fingertips and then onto other areas of your fabric. It’s subtle, but noticeable enough to be frustrating.
The fix is a very thin wash of matte Mod Podge. Mix a small dollop with about 10 mL of water (roughly a tablespoon) until it looks like skim milk. Test it on a scrap of fabric first to make sure the consistency is right and to see how it spreads.
Apply it with a small brush — not too wet. Place a tiny dot at the center of your colored area so it has room to spread outward, and work your way across. If it spreads slightly past your design, don’t stress. Once it dries, you won’t see it as long as you’re using a clean brush.
Once dry, do a quick test with a q-tip. If color still rubs off, apply one more thin layer. When it’s completely dry, your needle and thread should glide right through without any resistance.
Now, Stitch Away!
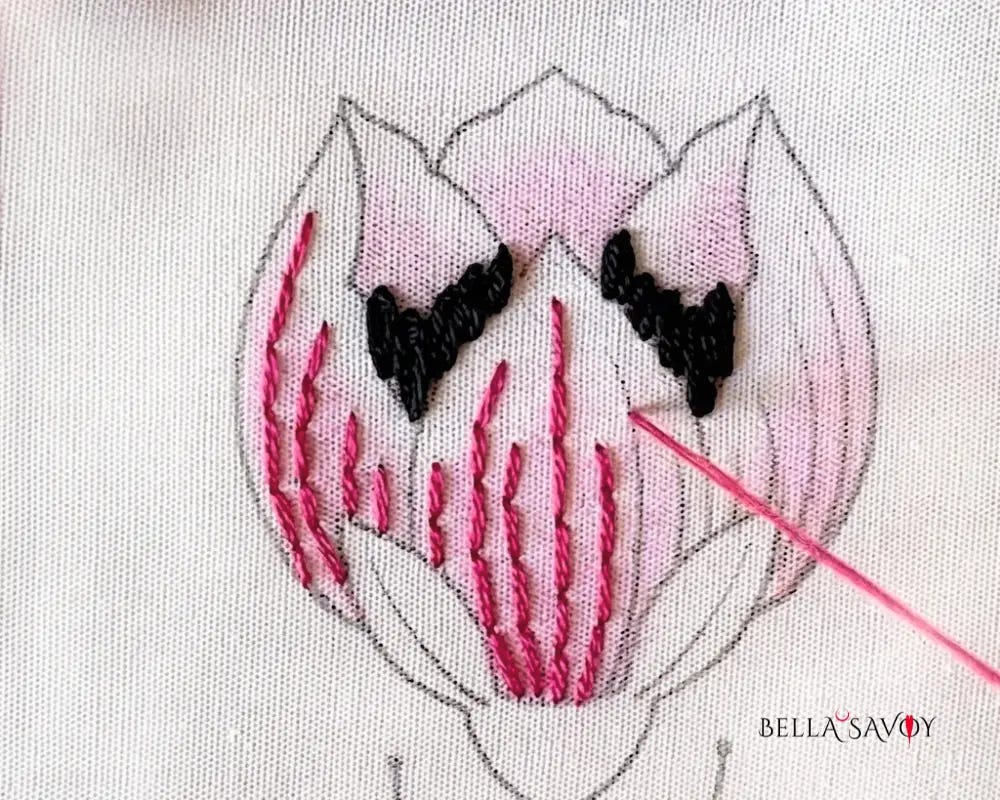
That’s all there is to it! Knowing how to color fabric with crayons really does open up a lovely new dimension for your embroidery projects — that soft, dreamy color peeking through your stitches is such a beautiful effect, and it’s so much easier to achieve than it looks.
Start with Crayola crayons (they’re reliable and widely available), get comfortable with the technique, and then feel free to experiment with colored pencils or even watercolors down the road if you want to explore other options. But for a beginner-friendly, low-stakes way to add color to your embroidery? Crayons are where it’s at.
Have fun with it!
Frequently Asked Questions
Can I color fabric with any brand of crayons, or does it have to be Crayola?
Crayola is the recommended brand for coloring fabric. Their consistent wax formula adheres smoothly and delivers reliable color payoff. Other brands can work but may be waxier or less pigmented. Always test on a scrap piece of fabric before using a new brand on your actual project.
What happens if I color fabric after embroidering?
Always color your fabric before stitching, not after. Thread creates an uneven surface that’s hard to color around evenly, and the crayon can drag across light-colored threads and stain them. Coloring first gives you a smooth, open canvas and keeps your thread colors clean.
Will the crayon color wash out?
Crayon color is not permanent and can lift with washing. Most embroidery pieces are displayed rather than laundered, so this rarely becomes an issue. If spot cleaning is needed, do it gently. Sealing the color first with a thin layer of matte Mod Podge adds extra protection.