

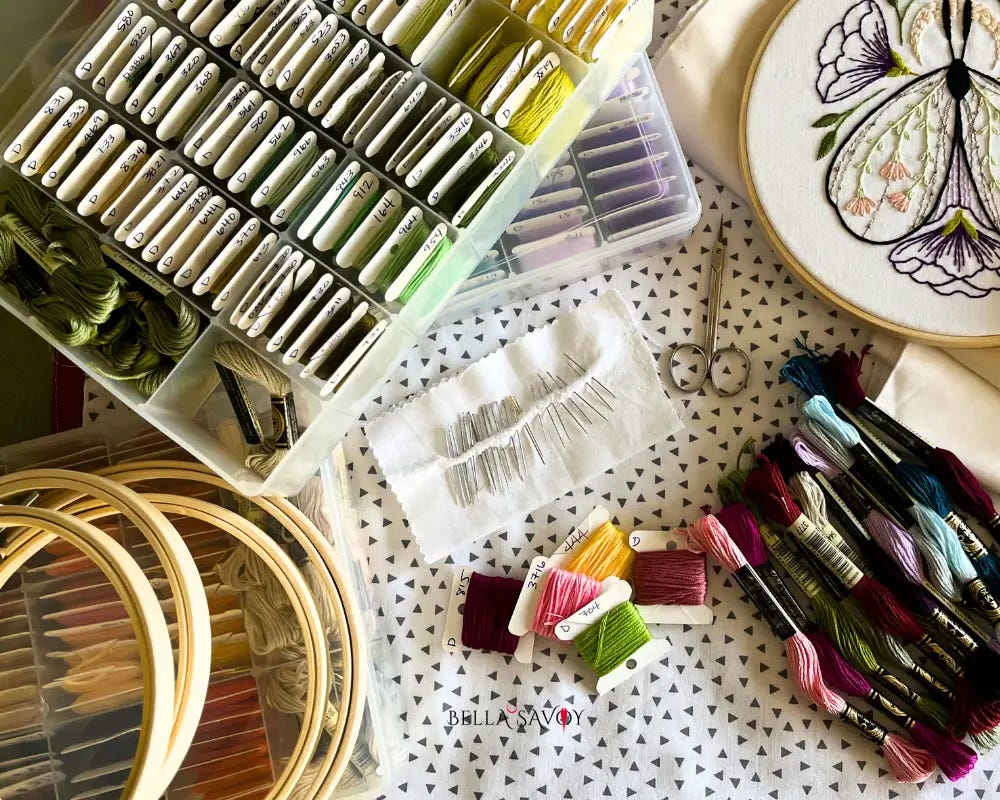
I’m so glad you popped in! If you’re here, it’s most likely because you’re either curious about or ready to start this cozy craft called embroidery. And I want you to know — starting might feel a little overwhelming at first, but I think you’ll be surprised by how easy it actually is. It’s also quite inexpensive, which is always a bonus.
You don’t need the best of everything to begin. And there’s no single “right” way to do this. What works for one person might not suit another, and that’s completely fine. What matters is that you get started.
What Embroidery Supplies Do Beginners Need? To start embroidering you need nine basic supplies: an embroidery hoop, fabric, floss, needles, scissors, a needle minder or pin cushion, transfer tools, thread cards, and a storage box or thread organiser. Optional extras include an embroidery stand, fabric stabilizer, and specialty threads.
Disclosure: As an Amazon Associate, I earn from qualifying purchases at no extra cost to you.
You can find nearly every item on this list curated in my Amazon affiliate shop — and if you choose to shop through my links, thank you, truly. It means more than you know. It’s a great way to support my blog at no extra cost to you.
And real quick… once you have all of your necessary embroidery tools, you’ll need something fun to stitch! If you don’t have a pattern to play with already, join my Cozy Stitch Community so I can send you a cute succulent pattern to play with!

So, let’s make things easy for you — I’m going to share my favorite embroidery supplies, from beginner essentials you truly need to a handful of nice-to-haves I’ve picked up along the way, so you can skip some of the guesswork I went through when I first started my embroidery journey.
Must-Have Embroidery Supplies
1. Embroidery Hoop
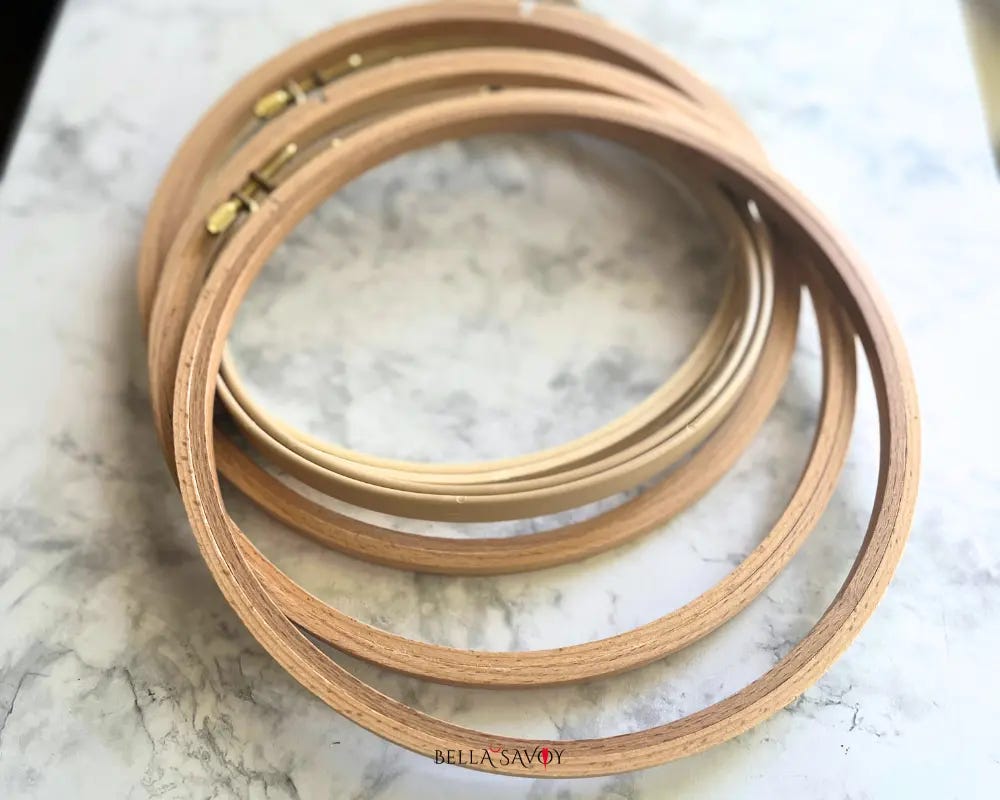
The hoop is what keeps your fabric pulled taut while you stitch. This matters more than it sounds — good tension in your fabric directly affects how your stitches look when you’re done. Too loose, and the fabric shifts, puckers, and the whole thing becomes frustrating fast.
Hoops come in wood, plastic, and bamboo. My personal favorite are beechwood hoops which you see in the foreground of my image. They’re beautiful and of higher quality than bamboo. They hold fabric tight quite well too.
Bamboo hoops are less expensive and great as a starter. It’s what I started off with and still use from time to time.
A 6″ hoop is the sweet spot for beginners — comfortable to hold, and large enough to work with without constantly repositioning your fabric.
2. Embroidery Fabric
You can embroider on almost any fabric. Old denim, a linen pillowcase, quilting cotton — if a needle can go through it, you can stitch on it. That said, some fabrics make learning considerably easier than others.
What you’re looking for is something even-weave and non-stretchy. The best choices to start with are 100% cotton or linen. My personal favorite is Hotgoden’s medium weight 100% Cotton Muslin Fabric. It has the perfect texture, weight, weave, and stiffness for stitching.
As a beginner, avoid stretchy fabrics, polyester, silk, aida, and delicate open-weave fabrics like organza. Knit fabrics are particularly tricky — they’re difficult to keep taut in the hoop without distorting. But don’t worry, in the ‘Nice to Have’ section you’ll find something to make it possible.
3. Embroidery Thread
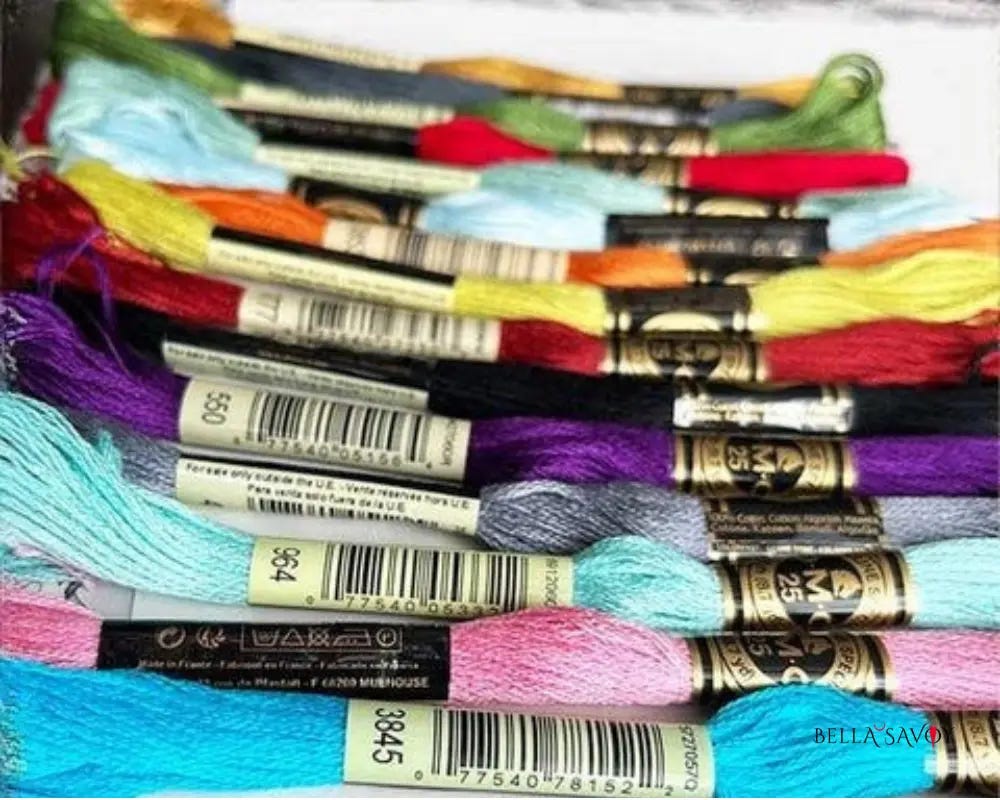
Embroidery thread — also called floss — is not the same as regular sewing thread, and it’s not machine embroidery thread either. It comes wound into small skeins and is made up of six individual strands of cotton twisted together.
I started with an inexpensive bulk set which is perfect when your dipping your toes in. Eventually, you’ll want to upgrade for better quality (better shine, stiffness, and less likely to get tangled or fuzzy).
One of the most popular — and my favorite — brands is DMC. It’s nicer on your wallet to purchase a small batch of DMC colors at a time, but I’m sure you will love the quality!
4. Floss bobbins
There are a few ways to organize your floss. If you just have a few colors, you can get away with a simple storage box, but once you start collecting more floss, they’ll easily become disorganized. I use both paper and plastic floss bobbins — simply wrap the thread around them, label, and store.
They’re inexpensive, widely available, and one of those small things that makes the whole experience considerably more enjoyable. Definitely worth picking up alongside your first batch of floss.
5. Storage Box or Thread Organizer
Once you have a few skeins of floss, keeping them organized becomes important. Floss tangles easily, and untangling it mid-project is the kind of small frustration that takes the pleasure out of what should be a relaxing activity.
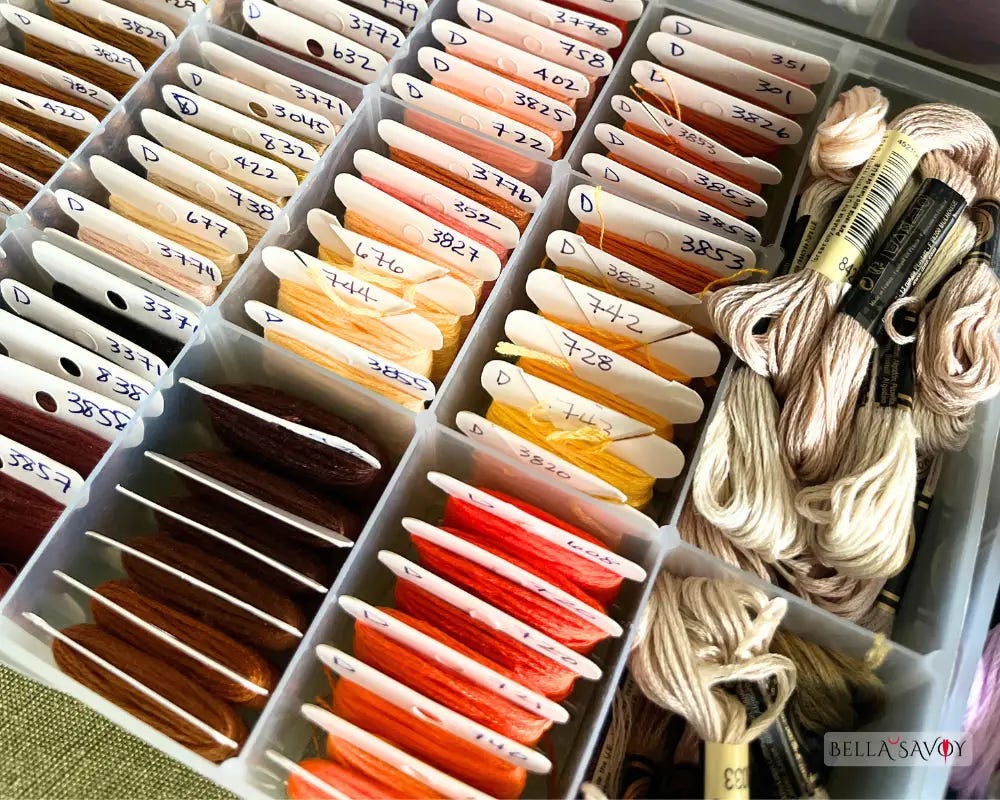
A basic thread organizer with compartments keeps your wound thread cards tidy and easy to find. It doesn’t need to be expensive — just something that separates your colours and keeps them within easy reach.
Once your floss collection starts to grow (and it will), a floss organizer keeps everything sorted and easy to grab from, so you spend less time hunting and more time stitching.
I have 4 organizers — I don’t remember where I purchased them — but Artbin is a great brand and their organizer has over 3,000 reviews averaging 4.5 stars, and it’s very similar to what I use.
6. Embroidery Needles
Embroidery needles are designed specifically for this craft. They have a larger eye than regular sewing needles, which makes threading stranded floss much easier, and a sharp point that passes through woven fabric cleanly.
Needle size should match your thread. The more strands you’re using, the larger the eye you need. I recommend the HTVRONT Sewing Needles kit which gives you 9 sizes to play with, plus a cute stainless steel tin to keep everything organized. — you’ll have a range to work with as you experiment.
There are other needle types you’ll encounter — chenille needles (sharper, thicker), tapestry needles (blunt, for heavier threads) — but embroidery needles are all you need right now.
7. Embroidery Scissors
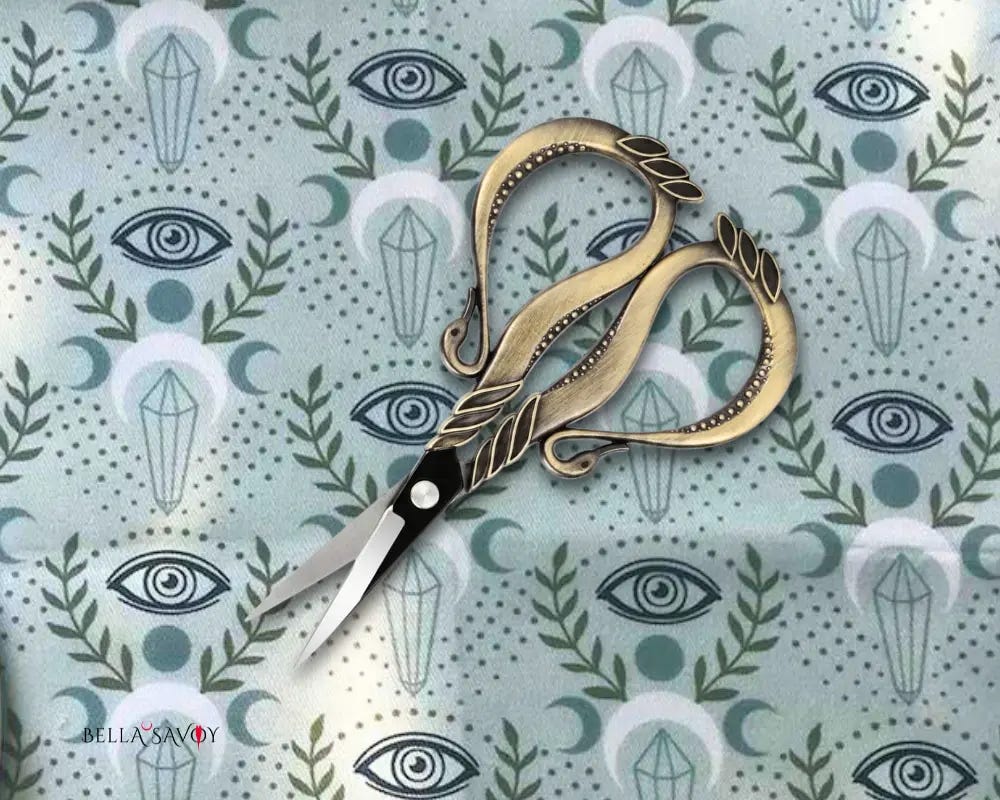
Small, sharp, and dedicated to one job: snipping thread. That’s all embroidery scissors need to do, but they do need to do it well. Regular kitchen scissors or fabric shears are too large and often too blunt for the precise little cuts embroidery requires.
A good pair of small embroidery scissors quickly becomes one of your most-used tools. They’re used at the start and end of every thread length, so you’ll reach for them constantly. It’s worth getting a pair you actually like.
quick sidenote — if you like my fabric pattern above, you can find it and other designs in my Spoonflower shop!
8. Sharp scissors
Embroidery scissors are small, so you’ll want a separate pair of larger scissors for cutting things like fabric which require longer sheers. Keep you embroidery scissors strictly for snipping floss.
8. Needle minder or pin cushion
Small but genuinely useful. A needle minder is a small magnetic tool that clips onto your fabric and holds your needle safely whenever you put your work down. Without something like this, needles have a way of vanishing into cushions, carpets, and thin air. It can be dangerous if you lose on at your feet.
A pin cushion works just as well — whatever suits you. The point is simply to have a designated spot for your needle so it’s always where you left it.
9. Transfer Tools
Before you can stitch a design, you need to get it onto your fabric. There are several methods for doing this, and different embroiderers swear by different approaches — you’ll likely find one that clicks for you.
If transferring patterns isn’t your thing, sticky water soluble stabilizer is a great way to transfer images quickly. It’s
basically a sticker you can stitch on and dissolve with water when complete. I’ve tried 5 or 6 brands and my favorite is Brothread — by far! I’ve been using it since 2024.
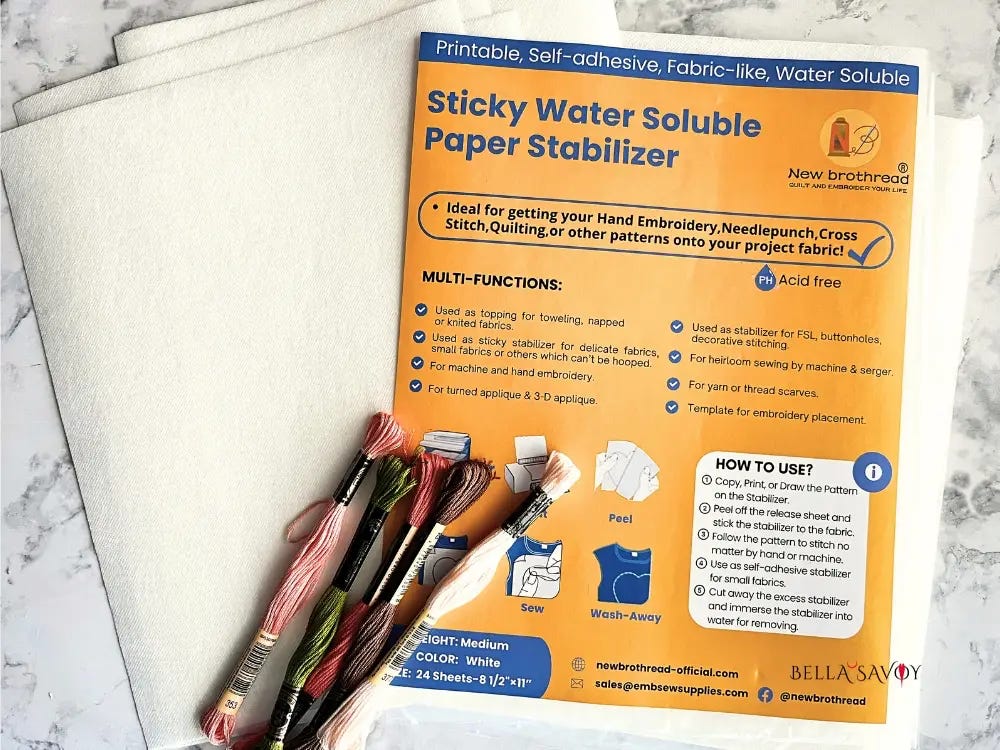
The quality and stickiness is perfect. It dissolves beautifully, and each time I purchase it I receive consistent quality. Learn how to use it here. You do need a printer for this technique.
Take a moment to read my full post on more transfer methods to find one that will suit you best. You’ll find the actual supplies needed for your preferred method there.
Nice-to-Have Embroidery Supplies (Optional, But Worth It)
Once you’ve got the basics down, these are the extras that make the process easier, more organized, and honestly more enjoyable.
1. Embroidery stand
An embroidery stand frees up both hands for more comfortable, relaxed stitching sessions — a small upgrade that makes a bigger difference than you’d think.
I’ve tried several and the one I recommend holds the hoop on both sides. which makes it much sturdier and removes the bounce when you stitch.
After years of using it, it honestly feels wonky when I don’t use it. I use this all the time — and my wrists thank me!
2. Felt
Useful for finishing projects or backing hoop art, felt is one of those quiet essentials that makes your finished pieces look polished. Frankly, it’s really unnecessary but it’s such a simple step to make it look and feel complete that I would recommend not skipping it.
It’s also very inexpensive and you can use just about any felt you find in your local craft store. It can be sewn on or added with a hot gun or fabric glue. I like quality so sewing it on is my personal preference.
3. Seam ripper
For the mistakes we all make, yes, even after years of stitching. There’s no shame in it — it’s part of the process, and having the right tool makes fixing things painless. You can also use your embroidery scissors but a dedicated seam ripper keeps your scissors sharp longer.
4. Rubbing alcohol
From time to time, your scissors will need a cleaning, especially if you use stick stabilizer which sometimes leaves a little sticky residue on your needle. Rubbing alcohol pads are perfect for this!
5. Printer
This one is nice to have if you want to print your own patterns at home. I use the Epson EcoTank 2850 and it works beautifully alongside Brothread sticky stabilizer for crisp, easy pattern transfers every time. I absolutely love this printer for print quality, ease of use, and also ink capacity. I’ve had it for nearly 2 years and have only added more ink to it once!
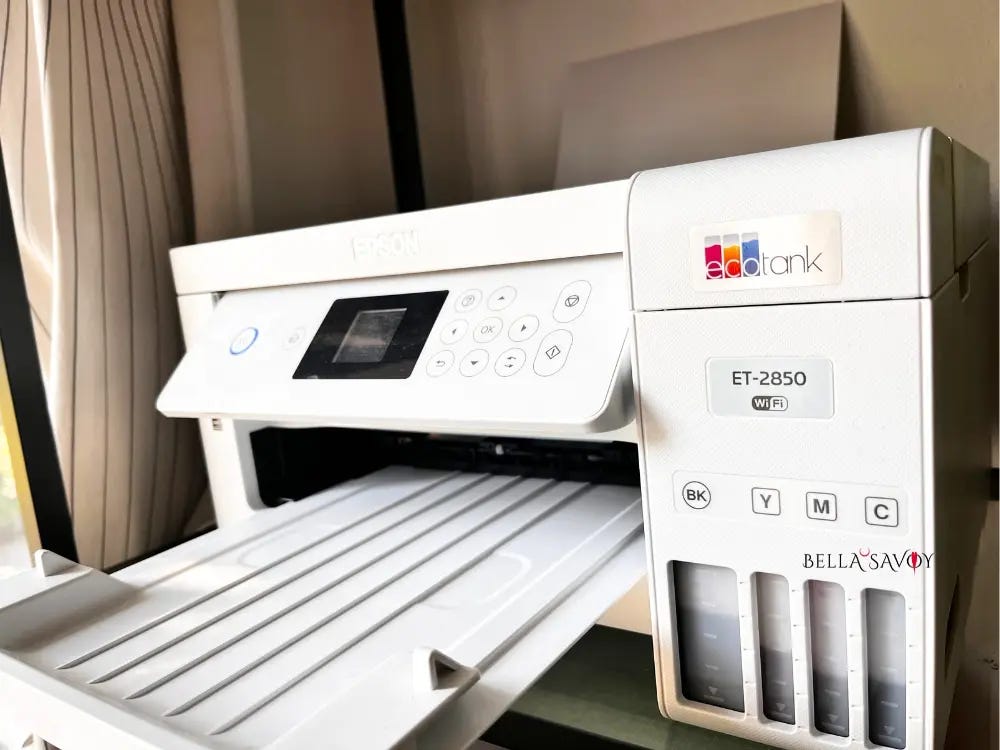
I still recommend the model I use but there are now newer versions of this printer which are much more affordable.
6. Fusible interfacing
Remember earlier when I said you want your fabric to be taut, not stretchy? You can use fusible interfacing to add stability to lightweight or stretchy fabrics.
To use it, iron it onto the back of your fabric, hoop, then stitch. When you’re done you leave it be. No one will see it, especially if you add felt to the back and cover it up.
7. Specialty threads
Perle cotton, metallic threads, silk, rayon, and ribbon each bring something different to a design. These are fun to explore once you’re comfortable with the basics.
Where to Get Your Embroidery Supplies
Local stores are great because you can see and feel the supplies before you buy — particularly useful for fabric and thread, where colour and texture matter. Staff in dedicated craft shops are often stitchers themselves and can point you in the right direction.
Supplies can be found just about anywhere online. If you want to skip the guesswork and know you’re buying quality, visit my Amazon affiliate shop where I’ve gathered this collection of my personal favorite embroidery supplies, all in one place!
What Will a Beginner Kit Cost?
Investing in good embroidery supplies costs less than you might think. A solid starter set — hoop, fabric, a small selection of floss, needles, scissors, and a transfer pen — can be pulled together for around $50 – $100. Many of these supplies will last a long time, and the floss in particular goes a long way.
Embroidery is genuinely one of the most accessible crafts you can pick up. The barrier to entry is low, the learning curve is gentle, and the benefits — a quieter mind, lower stress, a sense of making something with your hands — show up quickly. If you’ve been thinking about it, this is a good time to start.
So if you’ve been sitting on the fence, consider this your nudge. Grab your supplies, find a beginner-friendly pattern, and take it one stitch at a time.
Ready to Start Stitching?
Building your supply kit doesn’t have to be complicated — and it definitely doesn’t have to look like mine did in the beginning. Start with the must-haves, add in the nice-to-haves whenever you’re ready, and give yourself permission to figure out what works best for you along the way. That’s half the fun of it.
And if you haven’t already, don’t forget to grab your free succulent embroidery pattern when you join my cozy stitch newsletter — I’ll send it straight to your inbox. It’s the perfect little project to break in your new supplies. I can’t wait to see what you stitch!
Frequently Asked Questions
What embroidery supplies do I need to get started?
To start embroidering you need nine things: a hoop, fabric, floss, needles, scissors, a needle minder or pin cushion, transfer tools, thread cards to wind your floss onto, and a storage box to keep everything organised. That’s a complete beginner kit.
What is the best fabric for embroidery beginners?
The best fabrics for embroidery are 100% cotton, linen, cotton-linen blend, or cotton calico. These fabrics hold their shape in a hoop, don’t stretch under the needle, and are easy to stitch through. Avoid polyester, silk, knits, and stretchy fabrics — they distort and are hard to control.
What size embroidery hoop should a beginner start with?
A 6″ embroidery hoop is ideal for anyone new to embroidery. It’s large enough to accommodate most starter designs, comfortable to hold during long stitching sessions, and gives you enough room to work without constantly repositioning your fabric. Choose wood or plastic over bamboo — bamboo warps easily and won’t hold fabric securely.
What embroidery thread should beginners buy — DMC or Anchor?
DMC is the most widely recommended for embroidery beginners. It comes in over 500 consistent colours, is colourfast when washed, and is smooth and easy to work with. Either brand is a solid choice.
How much does it cost to start embroidery?
A solid embroidery beginner kit — hoop, fabric, a small selection of floss, needles, scissors, and a transfer pen — costs around $50 – $100 to begin. Most supplies last a long time, and floss goes further than you’d expect.