

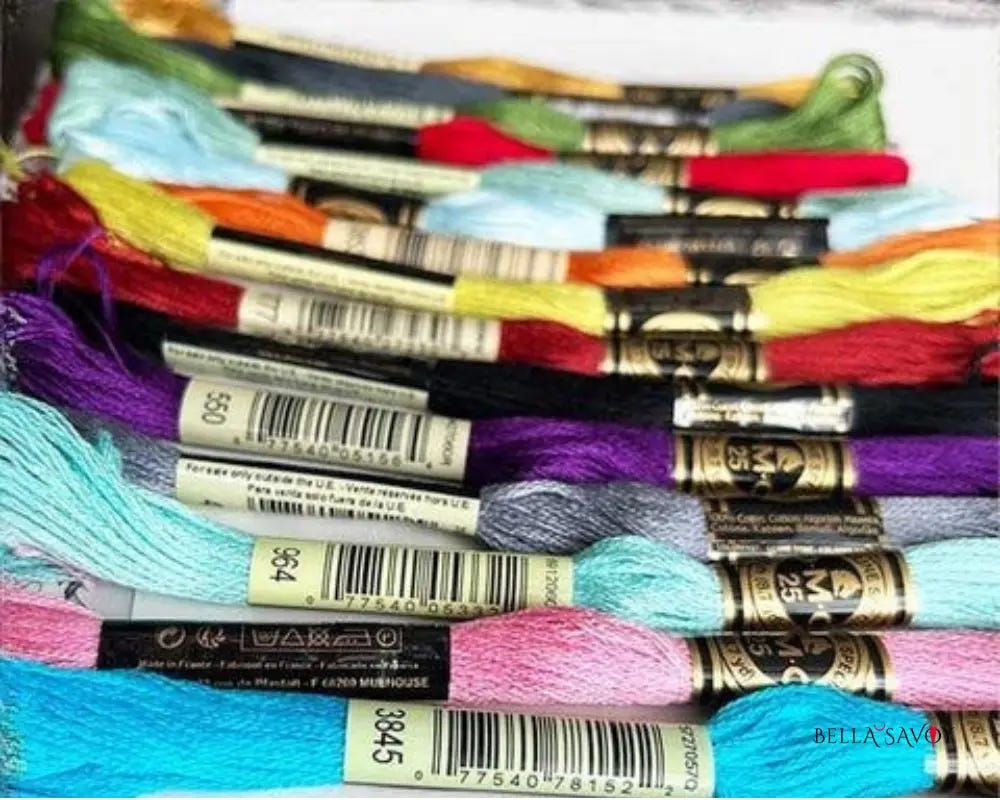
When you’re just starting out, embroidery floss can feel a little mysterious — so many colors, so many strands, and nobody tells you how it all works! This guide is here to change that.
Whether you’re trying to figure out how to use embroidery thread, how to thread embroidery floss onto a needle, or just where to begin, I’ve got you covered. Consider this your friendly embroidery floss for beginners crash course, so you can get to the fun part — actually stitching.
Disclosure: As an Amazon Associate, I earn from qualifying purchases at no extra cost to you.
Click here for a FREE EMBROIDERY PATTERN
What Is Embroidery Floss?
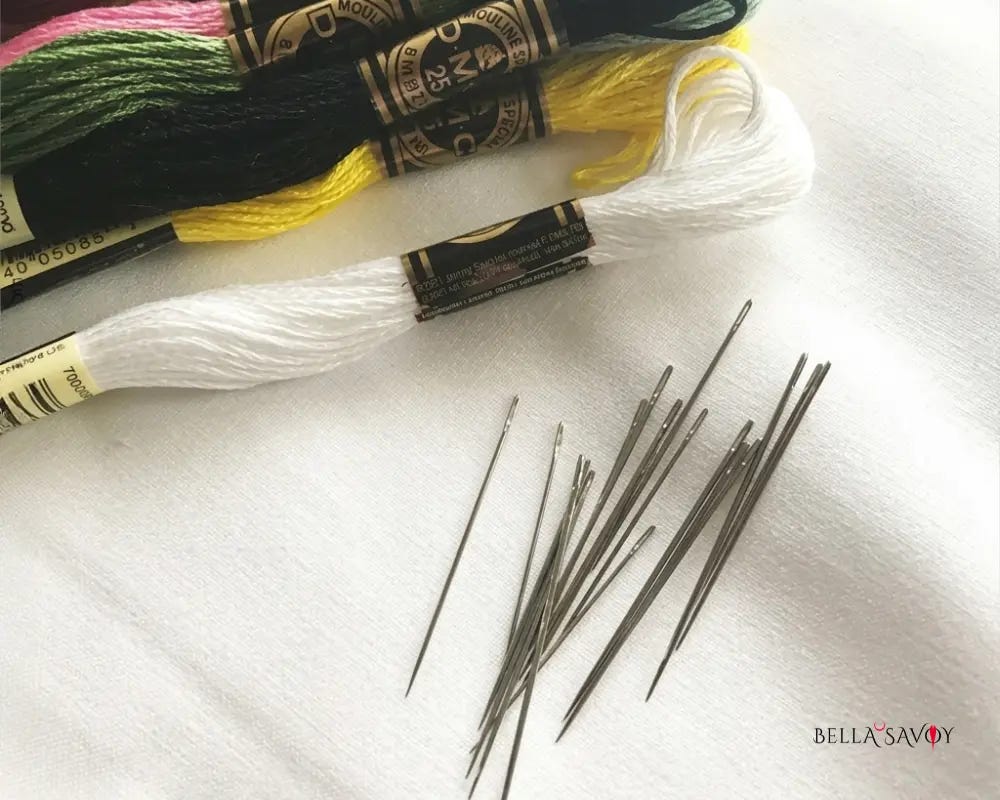
Embroidery floss (sometimes called stranded cotton or thread) is made up of six loosely twisted strands of cotton with a slightly silky sheen. It comes bundled in a small, loosely wound coil called a skein — that’s the little bundle of thread you’ll find hanging on pegs at the craft store.
The magic of floss is that those six strands can be separated and used in different combinations, giving you control over how bold or delicate your stitching looks. That flexibility is a big part of what makes it so fun!
While there are specialty options like silk, rayon, metallic, and even wool threads, six-strand cotton floss is the best choice when you’re just starting out. It’s easy to handle, comes in a huge range of colors, and is widely available and affordable.
Brands like DMC are a favorite among embroiderers for good reason — the quality is noticeably better, with colors that hold their vibrancy and threads that are less likely to fray. If you start with a budget pack, I’d still recommend grabbing a few DMC skeins alongside them so you can feel the difference for yourself.
Organizing Your Embroidery Floss
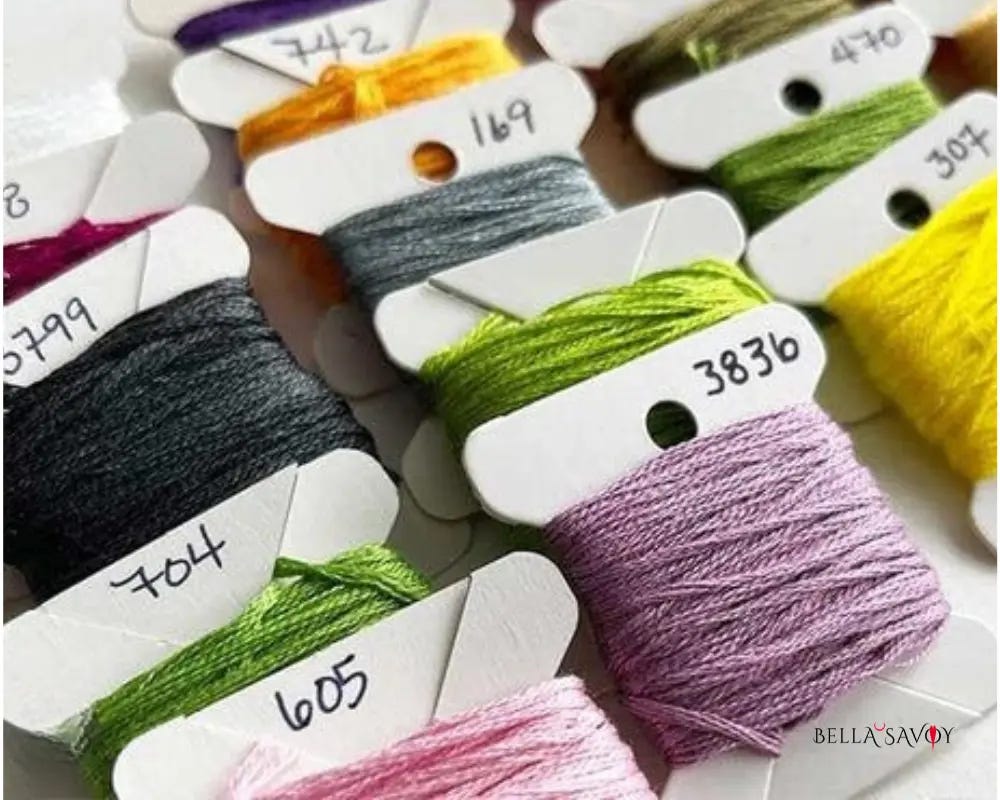
As your color collection grows, you’ll want a system to keep everything tidy. Tangles are the enemy! Here are a few popular ways to organize your embroidery floss:
Bobbins in a flat storage box
Wrap your floss around plastic or cardboard bobbins, write the color number on each one with a permanent marker, and store them sorted by color family in a shallow container. This is my personal favorite — everything is easy to see and grab.
Clothes pins
Wind the floss around a wooden clothes pin. Simple and charming!
Floss cards
Loop your thread through holes on a piece of heavy card stock or a specialty floss organizer.
Whatever system you choose, the key is consistency. Always write the color number on the bobbin or card before you remove the original label from the skein — you’ll be grateful for it later when you need to restock a color.
How to Use Embroidery Floss
It’s time to dive a little deeper…
How Long Should You Cut Your Thread?
The golden rule: cut your floss to about 18 inches — roughly the distance from your hand to your elbow. This length is long enough for a good run of stitching but short enough that the thread won’t tangle or wear thin from being pulled through the fabric over and over.
It’s tempting to cut long pieces so you don’t have to re-thread as often, but just remember that it tangles more easily. I’m guilty of using longer pieces, but I’ve been doing this awhile. Start short and experiment with slightly longer pieces later to see what you’re most comfortable with.
By the way, if your embroidery pattern calls for a 6 strand stitch, it means 6 strands total. So if you don’t like leaving a loose end and prefer to fold your thread over and tie the ends together, you would need 3 strands. Folding it over will double the number of strands to 6.
How Many Strands Should You Use?
This is one of the first things beginners wonder about, and the answer is: it depends! Most hand embroidery patterns will tell you how many strands to use. But when in doubt, use this as a general rule: the finer the fabric, the fewer strands you’ll want. Don’t be afraid to experiment — you’ll quickly get a feel for what looks right.
Speaking of fabric — cotton and linen are the best choices when you’re learning how to embroider. They have a stable weave that won’t stretch or warp your stitches, and they’re just really lovely to work with.
As for needles, embroidery needles (also called crewel needles) have a sharp point and a long oval eye designed to accommodate multiple strands of floss. Pick one where your thread fits comfortably through the eye and passes through your fabric without forcing it — DMC needles are a reliable go-to.
Separating the Strands
This step is a little tricky at first, but once you find your rhythm you’ll enjoy this step. Do this with me.
Hold one end of your floss between your fingers. Let’s separate 2 strands from the rest.
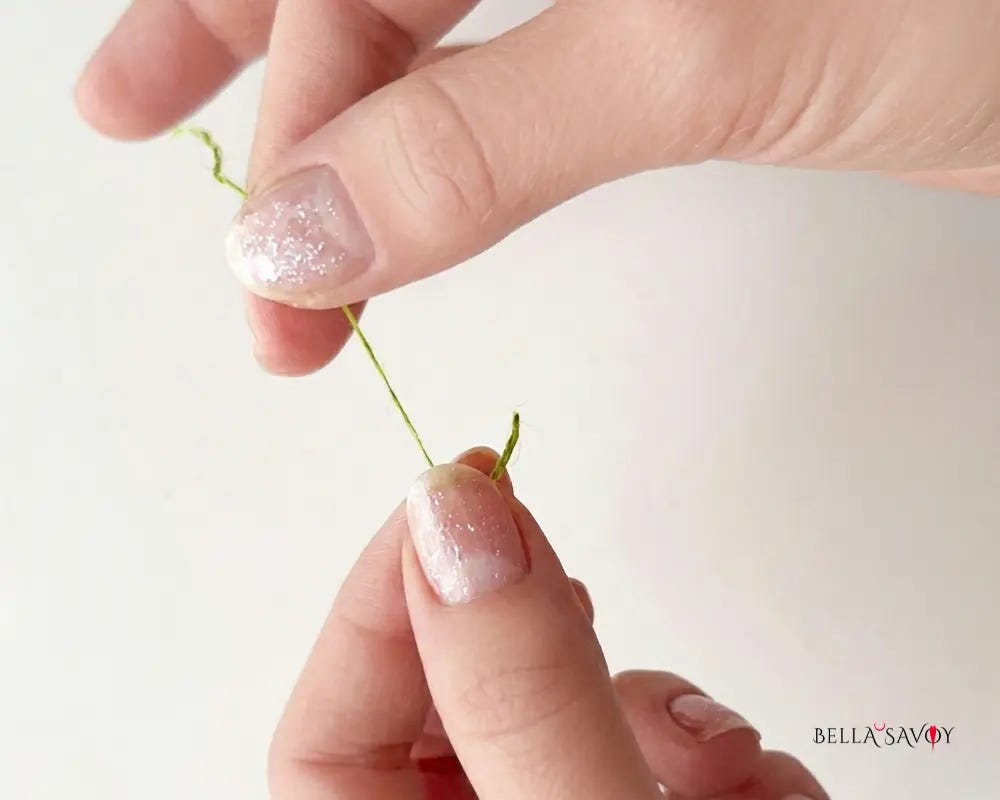
Pull 2 strands about an inch or so away from the rest so your thread resembles the letter ‘Y’, then pinch the thread at the base where they are starting to separate with two fingers.
Use your other hand to gently and slowly pull the 2 strands out. Allow the thread to curl up below your fingers as you pull them out. They’ll uncurl once you’re done.
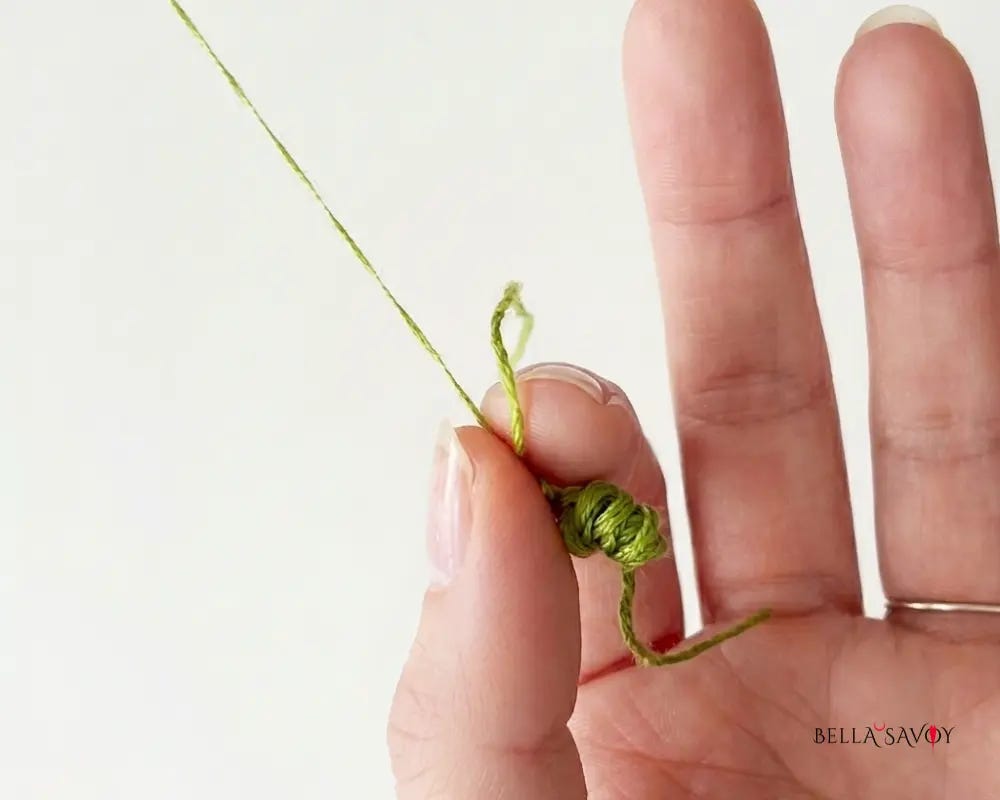
If you want to fold your floss in half and work with both ends on the needle, it’s easier to separate strands starting from the middle of your length, then return to the middle and work down the other side.
Take your time. If you go too quickly you can end up with a tangled mess instead.
Threading Your Needle
Once your strands are ready, pass them through the eye of the needle.
Take one end of your strands and fold it over your needle. Pinch it between your fingers so you just see the very top of the thread.
Slide the needle out, then wiggle the eye over the thread between your pinched fingers.
As long as the thread count isn’t too thick for the eye it will slide in nicely!
A Few Extra Tips Before You Start
A few good habits go a long way when you’re learning how to embroider. Here are some tips to keep in your back pocket:
Always trim the tail behind your knot short so it doesn’t get pulled through to the front when you stitch nearby.
Finishing your thread
When your thread gets short, don’t push it until it’s completely gone — leave enough length to secure the tail on the back. Slide your needle under a few stitches on the reverse side and pull through to anchor it. Avoid knots on the back if you can; they create lumps that can show through on finer fabrics.Keep things moving smoothly
Every so often, let your needle dangle freely and untwist the thread naturally as it hangs. This keeps your floss from getting twisted as you stitch, which can make it look uneven or cause it to fray.Do a color bleed test
If you ever plan to wash your finished embroidery, wet a small piece of thread and press it against a white fabric scrap first. Some colors bleed, and it’s much better to find that out before your project is done!Keep your needles in check
A magnetic needle holder or small pincushion nearby means you’ll always know where your needles are — a stray needle is no fun to find later.Stay organized
A flat box or pouch dedicated to your current project keeps everything in one place and makes it easy to pick up where you left off. Be in the habit of keeping your threads clean too — oils from your hands can dull them over time.Trim the tip
Loose thread behind the knot can accidentally get in the way and even find itself on the front of your piece as you pull thread up. It’s always best practice to keep the back neat and trim excess thread on the back.
Now that you’ve got the essentials of embroidery floss for beginners under your belt, you’re ready to start stitching! Check out the embroidery stitch tutorials for step-by-step guidance on all the stitches you’ll love learning.
Video: How to Thread a Needle
